
Product Video: Three Clips That Sell Texture
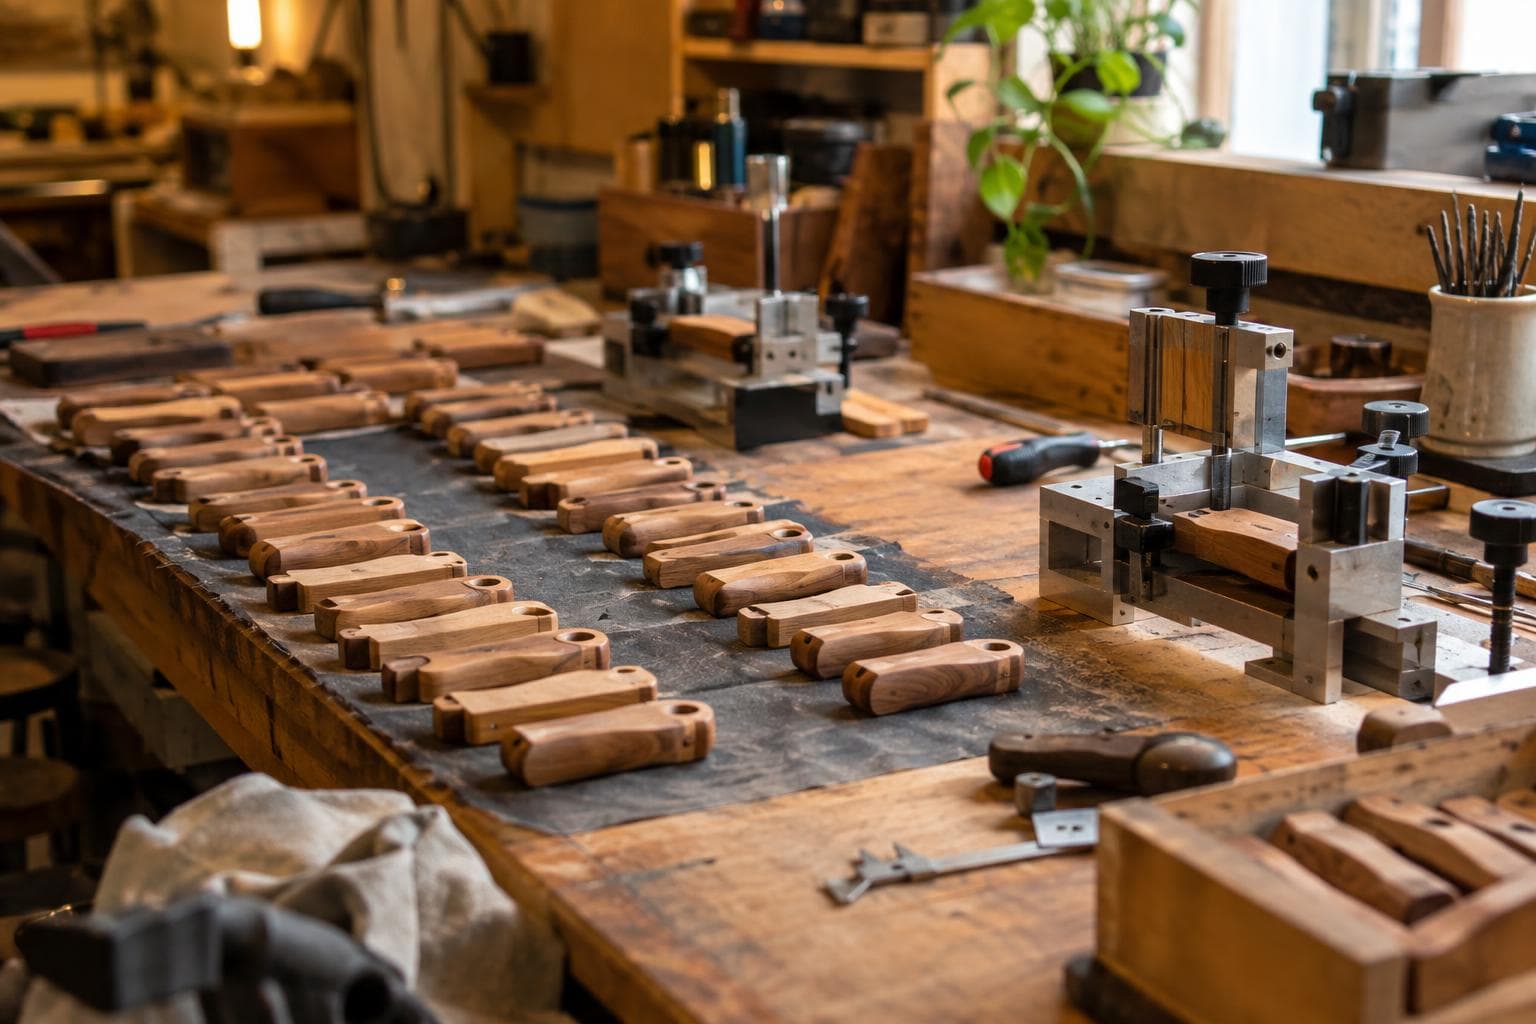
A photograph can show a surface, but it cannot prove how that surface behaves. If the decision is whether to spend an hour filming a product or publish another still, the arithmetic is straightforward: one frame records one angle under one light, while a short sequence can answer questions about texture, scale, weight, movement, and construction.
The honest answer is not to film every object. If the added footage costs more in setup, editing, and posting time than the product can return, the product may not be worth selling in its current form. For the pieces that do justify the work, we film three clips: a moving-light texture reveal, a scale-and-weight demonstration, and process footage that shows how the object was made.
What motion adds to a product video
A still photograph compresses a three-dimensional surface into a fixed exposure. It can show color and silhouette well, but it tends to flatten shallow grain, small bevels, engraved recesses, and changes in sheen. Motion gives the viewer a sequence of measurements instead of one visual claim.
The first measurement is texture. Move a light source across the surface, or move the camera while the light stays controlled, and highlights travel over ridges and fall into valleys. That changing highlight reveals grain depth and relief that a single fixed exposure flattens. The effect works on wood, paint, leather, acrylic edges, and engraved surfaces, but the light has to move slowly enough for the eye to follow it. A fast sweep looks like glare rather than information.
The second measurement is scale. A hand, ruler, familiar fastener, or known-size work surface gives the object a reference. A turntable alone shows shape, but it does not tell the viewer whether a box is palm-sized or large enough for a shelf. Keep the reference in the frame long enough to establish size, then remove it if it distracts from the object.
The third measurement is weight and mechanism. A hand lifting a lid, pressing a button, rotating a latch, or flexing a moving part shows resistance and travel. Do not fake weight with an exaggerated slow motion. A normal lift followed by a brief hold is more useful because it shows how the object behaves under ordinary handling.
A useful short form video does not need cinematic movement. It needs a change that carries evidence. We ask what a buyer cannot verify from the still, then film that specific uncertainty.
The three clips worth filming for every product
These are the three clips we would capture before setting up decorative footage. Each has a separate job, so they can be posted together or used independently.
1. The moving-light texture reveal
Lock the object in place and move a broad, diffused light across it from a shallow angle. The exact angle depends on the relief: shallow engraving usually needs a lower grazing angle, while a glossy curved surface needs enough size in the source to control a hard reflection. Keep exposure and focus fixed while the light moves. If the camera exposure changes during the shot, the viewer cannot tell whether the surface changed or the camera compensated.
Film the reveal for roughly five to ten seconds, then repeat it from the opposite direction if the texture has a strong grain direction. A phone can be good enough here. A larger light may matter more than a better camera because the light movement is doing the explanatory work.
2. The scale, weight, or mechanism clip
Choose one physical action. Set the object beside a ruler, hold it in one hand, place it beside a standard sheet or fastener, or operate the mechanism through its full travel. Do not combine every reference in one shot. The viewer should understand one fact without pausing the video.
For a lightweight object, show placement and removal rather than pretending it has mass. For a heavy object, show the start of the lift and the controlled set-down. For a mechanism, show the complete cycle once, then a closer view if the first shot hides the engagement point. The sound of a latch or switch can help, but record it as supporting evidence rather than depending on it. Small microphones and phone processing can make a click sound larger than it is.
3. The process clip
Process footage answers the question of how something was made, which is the main reason handmade buyers pay a premium. It does not need to show every operation. It needs to show the operations that explain the result: a tool following a path, a surface receiving stain or paint, an assembly being fitted, a board being checked, or an electronic module being tested.
Show the unworked material briefly, the decisive operation, and the finished surface. A three-part sequence is easier to understand than a time-lapse that turns the entire build into a blur. Keep safety equipment and machine guarding in frame where relevant. A clean process clip builds confidence because it connects the visible result to an actual method rather than a claim of handwork.
The arithmetic before filming
Video is not free because the camera is already in a phone. Count the time that disappears around the recording:
- Setup: clear the surface, place the object, position lights, and check the background.
- Capture: record the three clips, retake anything with focus, reflection, or movement problems.
- Edit: trim dead time, adjust exposure, add captions if needed, and export the required format.
- Publish: write the caption, upload, check the crop, and answer basic questions.
- Overhead: include storage, lighting wear, software, electricity, and the cost of the space used.
Use an hourly value that reflects the work, not the hope of a sale. For a worked example, suppose the three clips take 20 minutes to set up and capture, 35 minutes to edit, and 15 minutes to publish. That is 70 minutes. At a labor value of $35 to $50 per hour, the video costs roughly $40 to $60 in time before overhead.
Now add the product arithmetic. Suppose materials and consumables are $10, packaging is $5, and production takes 75 minutes at the same $35 to $50 hourly value. The product already carries roughly $59 to $78 of direct cost before payment fees, platform fees, rejects, equipment depreciation, and general overhead. Add the video and the combined cost is roughly $99 to $138.
At a sale price of $120, a fee reserve of roughly 10% to 20% removes about $12 to $24. The lower end of the example leaves little or no contribution before overhead; the higher end loses money. That is the point of doing the arithmetic aloud. A product can look profitable when only material is counted and become a poor product once production and proof are included.
The practice that follows is blunt: if the product cannot support the making time plus the proof time, change the product, change the process, or do not sell it. A product video is not a rescue plan for weak margins. The honest answer may be to keep the object as a prototype, offer it only as part of a larger job, or stop building that version.
A technical comparison of the three clips
| Clip type | Main evidence | Lighting or movement requirement | Common failure mode | Cost per part or post |
|---|---|---|---|---|
| Moving-light reveal | Grain depth, engraving, sheen, and relief | Fixed exposure with slow light movement across the surface | Glare, clipped highlights, or movement too fast to read | Low after setup; usually shared across a batch |
| Scale and mechanism | Size, weight, travel, fit, and resistance | Stable reference and one deliberate physical action | No familiar reference, partial movement, or forced handling | Low; capture time rises with retakes |
| Process footage | Material, tool path, assembly, and testing | Safe working view with enough light to see the operation | Time-lapse hides the decisive step or implies work that was not done | Medium; rises sharply if the setup is rebuilt for filming |
The table also explains why a single polished clip is often weaker than three plain ones. Each clip answers a different objection. Combining them can produce attractive footage that answers none of the practical questions clearly.
Build a repeatable filming station
A repeatable station lowers the cost of proof without making every object look identical. Mark the camera position, light positions, and object center on the surface. Use manual exposure and focus when the camera allows it. Lock white balance if the finish color matters. Record a short test before the full take and inspect the highlights, edges, and moving parts at the intended viewing size.
For small products, a neutral background and one large diffused source are usually enough. A second light can separate the object from the background, but it can also erase the very shadows that reveal depth. We would add it only when the silhouette disappears or the background contaminates the edge.
Batch the work. Film all moving-light reveals in one setup, then all scale clips, then the process clips that require a machine or assembly station. If changing fixtures takes 15 minutes and filming one object takes five minutes, one object carries the whole changeover. Ten objects reduce that changeover to roughly two minutes per object. The arithmetic is why batching beats chasing a different backdrop for every post.
Use captions for facts the image cannot guarantee: material, dimensions, operating direction, or whether a surface is painted, stained, engraved, or printed. Captions should identify evidence, not replace it. “Light crosses recessed lettering” tells the viewer what to watch; “beautiful detail” does not.
When a still is the better choice
Motion has a cost and can introduce confusion. Use a still when the important information is a flat layout, exact typography, a color comparison, or a detail that becomes harder to inspect while moving. A still also works better for documentation that someone may need to compare later.
Do not add a turntable just because the object has six sides. If all sides are visually identical, a still plus one short rotation may be enough. Do not buy a gimbal to solve a lighting problem. A locked phone and a moving lamp can reveal texture more clearly than a moving camera with uncontrolled reflections.
The same restraint applies to editing. A cut every second may hold attention, but it can hide wobble, fit, or surface defects. Leave enough continuous motion for the viewer to understand what changed. The goal is not to make the object appear more expensive than it is. The goal is to remove uncertainty at a cost the margin can carry.
Frequently asked questions
Does a product video need a dedicated camera?
No. For texture, controlled light and locked exposure usually matter first. A phone is adequate if it can hold focus, avoid exposure pumping, and record enough detail for the intended platform. Upgrade the camera only after the current camera has produced a measured limitation, such as unusable focus distance or insufficient low-light performance.
How long should a short product video be?
Long enough to show one fact without rushing it. A texture reveal often needs several seconds of continuous light movement, while a mechanism may need a complete open-and-close cycle. Cut pauses and failed takes, not the evidence itself. If three clips each answer a different question, publish them separately or combine them with clear transitions.
Should process footage show every step?
No. Show the material before the decisive operation, the operation itself, and the resulting surface or assembly. The sequence should explain how the work was made without pretending that a short clip documents every measurement, setup, or inspection.
The Boss Factory builds custom, made-to-order work in Custom Woodworking, Laser Cutting & Engraving, and Design & Product Development using 3D Print, Acrylic, CNC, Coated Tumblers, Design, Electronics, LED, Laser, Leather, Paint, Slate, Smart Home, Software, Stain, and Wood through /quote.
Have a project in mind?
Tell us what you want built — we reply within 24–48 hours.