
- assembly table
- torsion box
- flat workbench
- woodworking
- shop fixtures
Assembly Table: Build a Flat Torsion Box Workbench
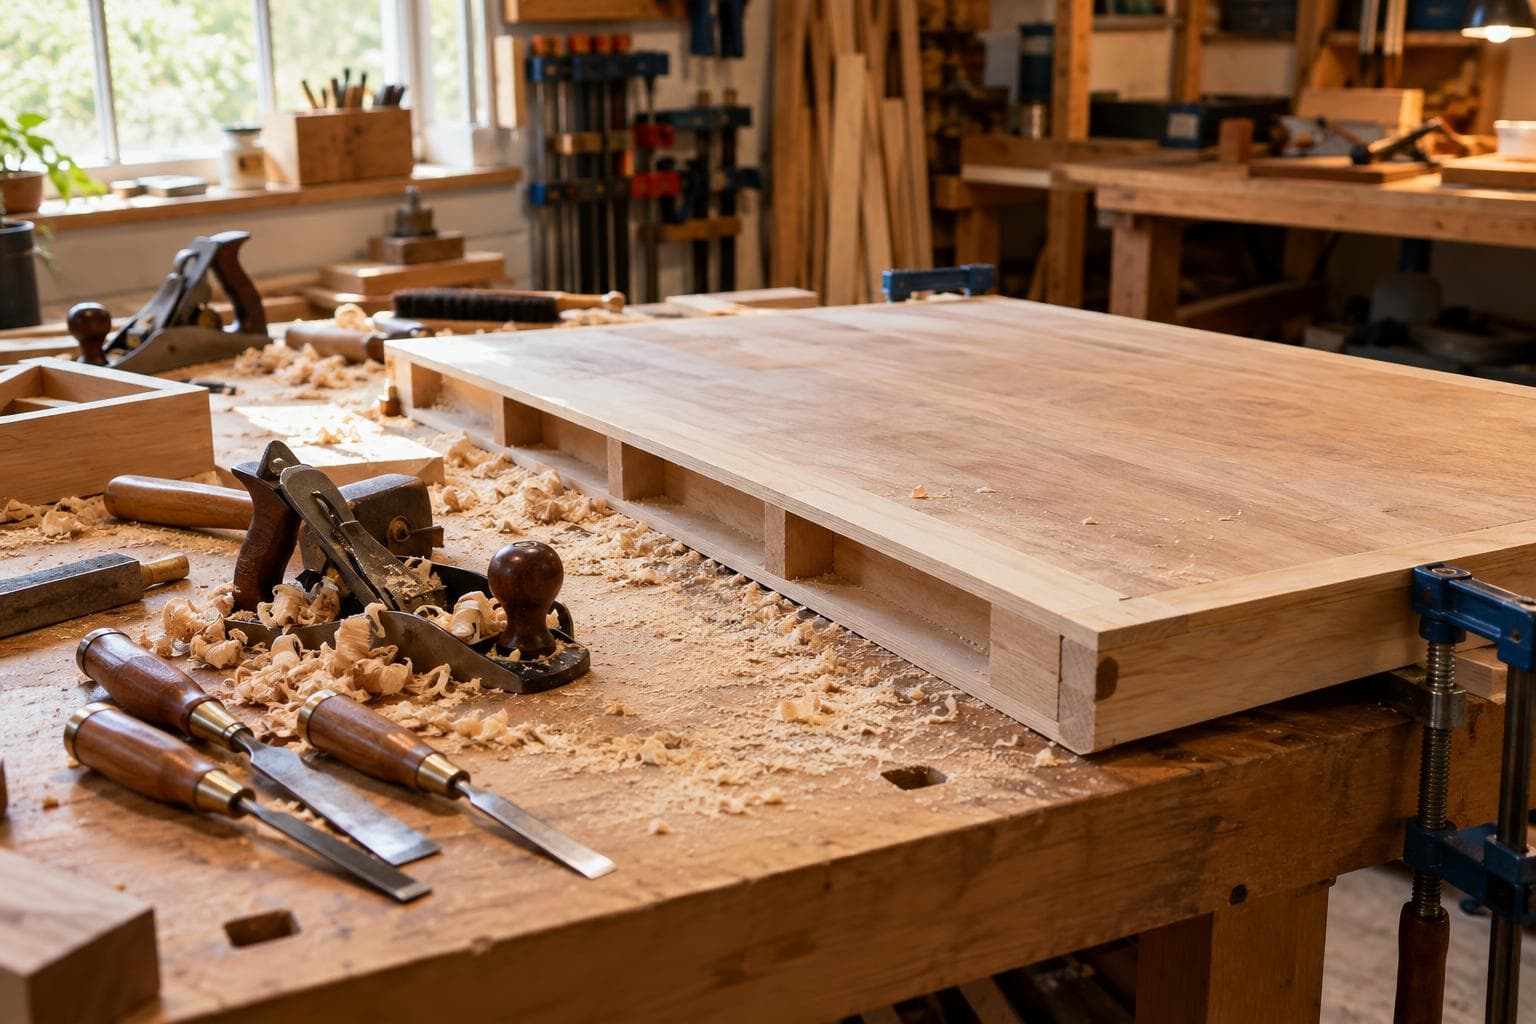
A flat assembly table earns its space because nearly every project touches it. The honest answer is that a sheet of MDF on a pair of trestles can be good enough for some work, but a genuinely flat reference surface needs controlled stiffness, a replaceable top, and a height that suits the work.
The reason to build one is not appearance. A glue-up is only as flat as the surface it was assembled on. If that surface has a hollow, crown, or twist, clamps can preserve the error while the adhesive sets.
Why an assembly table deserves a torsion box
A torsion box is a shallow box made from two skins separated by an internal grid. It resists twisting because its skins are held apart by that internal grid, which is where the stiffness comes from. The skins alone can flex; the separated skins and the grid act as a deep structure.
For an assembly table, that matters more than sheer mass. A heavy solid slab can still move with humidity, develop a cup, or sag between supports. A well-built torsion box spreads loads and keeps the working skin supported over its area.
Our preferred starting point is a torsion box with a replaceable sacrificial top. The permanent structure stays protected while the upper sheet takes screws, glue squeeze-out, pencil marks, router cuts, and the occasional misplaced drill bit. A table that cannot be marked is often too precious to use.
Size it around the largest work you regularly handle, then leave access around it for clamps. A smaller flat surface that stays clear is more useful than a large one permanently buried under parts.
Building the flat reference surface
Use two stable sheet skins and an internal grid with consistent spacing. MDF is easy to machine and has uniform density, while plywood gives better screw-holding in the edges and usually tolerates rougher handling. Either choice can work; the quality of the initial sheets and the assembly method matter more than the label on the sheet.
Cut the grid members to the same finished height. Small differences become rocking points under the top skin. Dry-fit the grid on a known-flat surface, check the diagonals of the outer frame, and make sure each crossing is seated before applying adhesive.
The difficult operation is not cutting the parts. It is keeping the grid and first skin from locking in a twist. Use straight cauls, distributed weights, or temporary hold-downs. Check the surface with a long straightedge in several directions, then check it again after the adhesive has set. A short level is a poor substitute because it can miss a broad, gradual bow.
Attach the second skin only after the internal grid is stable. Use enough adhesive for continuous contact without creating thick ridges that hold the skin away from the grid. Place the upper skin, distribute pressure, and confirm that the outer edges remain aligned.
A sacrificial top should be attached in a way that permits replacement. Screws through clearance holes are practical. Leave the holes accessible and keep them outside the areas where clamps, dogs, or workpieces normally land. If you glue the top down, you have turned a replaceable wear layer into a permanent part of the structure.
The first top does not need to be expensive. A flat MDF sheet is often the cheap way that is good enough. Upgrading to a coated or specialty sheet fixes wear, moisture, or release problems only if those problems exist in your work. For many hobby shops, replacing ordinary MDF when it is damaged is a better use of money than protecting it with an elaborate surface system.
Five projects worth building around the table
1. A torsion-box assembly table
Problem it solves: It gives glue-ups, cabinet assembly, layout, and general fitting a stable horizontal reference that does not depend on the floor or a pair of sawhorses.
Main parts and materials: Two sheet skins, grid strips, wood adhesive, screws or threaded inserts for the sacrificial top, a base or trestles, and a replaceable MDF work surface.
The part harder than it looks: Building the box without trapping a twist. A grid that is square in plan can still be uneven in height. Check the grid members individually, then inspect the assembled box diagonally and with a straightedge before closing it.
Pick the table size from the work, not from the available sheet. If most projects are cabinet doors, a surface slightly larger than a door is useful. If the table will support full sheets, the structure and base need to prevent sag at the edges as well as in the middle.
2. A dog-hole and clamp fixture top
Problem it solves: It makes repeatable clamping possible for panels, frames, and angled work without balancing clamps on the edge of the table.
Main parts and materials: A replaceable top, a drilling guide or CNC-cut template, a drill bit suited to the dog-hole diameter, bench dogs or low-profile stops, and a sacrificial backing layer beneath the drilling area.
The part harder than it looks: Keeping the hole pattern square to the reference edges. A pattern can look regular while drifting across the sheet. Establish one origin, reference every row and column from it, and verify the first few holes before committing to the full layout.
A grid is not automatically better than a few strategic rows. Closely spaced holes add work, collect debris, and can weaken a thin top around the holes. For general assembly, place holes where a clamp or stop can reach the common work sizes, then add holes later if a real project shows the need.
Do not drill the permanent torsion-box skin for this job. Put the pattern in the sacrificial top. That preserves the table if your preferred hole spacing changes, and it prevents a damaged hole from becoming a structural repair.
3. A CNC spoilboard and reference grid
Problem it solves: It gives CNC work a known top plane for shallow cuts, hold-down locations, and repeatable work offsets.
Main parts and materials: A flat sacrificial sheet, threaded inserts or a grid of fasteners, a surfacing cutter suitable for the machine, edge stops, and a way to probe or measure the working plane.
The part harder than it looks: Surfacing the spoilboard without copying machine error into the top. The cutter must move across the actual machine plane, and the table must be supported so it does not flex under the cutter or under a workpiece.
Use the machine to surface only enough material to establish a continuous plane. A deep pass can expose mounting hardware or reduce the useful life of the board. Mark the original top and bottom, because flipping a sheet after partial surfacing can make the reference confusing.
A CNC spoilboard is not automatically a good hand-assembly surface. Cutters leave dust and grooves, and a vacuum grid may not provide solid support for small parts. Treat this as a removable project-specific top that shares the flat torsion-box base rather than as one surface expected to do every job.
4. A drilling and dowel assembly fixture
Problem it solves: It keeps repeated holes, dowels, and small carcass parts aligned while you work through a batch of similar components.
Main parts and materials: A flat base, replaceable fence strips, a square stop, drill guides or hardened bushings, clamps, and sacrificial backing pieces to prevent breakout.
The part harder than it looks: Controlling cumulative error. A fence can be square at one end and still produce a growing offset if the work is registered from a previous part rather than from one fixed datum. Register every part against the same stop and keep the contact faces clean.
This fixture is worth building when the same operation appears often. It is not worth building for one unusual part unless hand layout would be unsafe or unusually slow. A simple screwed fence and a marked centreline are often enough; precision bushings and adjustable stops solve problems you may not have.
5. A finishing and inspection platform
Problem it solves: It provides a clean, level place to inspect panels, apply finish, check diagonals, and find rocking before a part moves to the next operation.
Main parts and materials: A clean sacrificial sheet, removable support strips, low-profile stops, a straightedge, feeler gauges, and removable paper or film for finish work.
The part harder than it looks: Keeping contaminants and support points from affecting the inspection. A shaving under one corner can look like a warped panel. Dust under a support strip can also mark a wet surface or alter the measurement.
Use support strips that are easy to remove and clean. Keep finish operations separate from glue-up work when possible, because dried adhesive and finish overspray turn a reference surface into a source of error. This platform can be the same table with a different top, which is another reason not to overbuild a permanent surface for one process.
Choose the height and top for the work
Table height is a decision about posture, force, and visibility. A low surface suits heavy assembly and hand-planing. A higher surface suits layout, electronics assembly, light sanding, and work where you need to see the top without leaning over it. If one table must handle both, choose a middle height and use risers or a separate low platform for the operations that need more downward force.
Measure the height of the work you actually do. Stand at the table with shoulders relaxed and place your hands where they would sit during layout, clamping, or sanding. Then test that height with a temporary platform before cutting the base. A fixed number copied from someone else’s bench ignores body size, tool choice, and whether the work is a panel or a small part.
The table top also needs a deliberate choice. These options solve different problems:
| Top type | Flatness and stability | Wear and repair | Main failure mode | Best use |
|---|---|---|---|---|
| MDF sacrificial sheet | Flat when supported well; edges can swell with moisture | Cheap and quick to replace | Swollen edges, dents, and stripped screw holes | General glue-ups and layout |
| Plywood sacrificial sheet | Stiffer across spans; surface may have local irregularities | Better edge holding; harder to replace cleanly | Veneer damage or built-in sheet warp | Clamping and heavier handling |
| Hardboard skin | Thin and smooth when backed continuously | Easy to replace; limited screw holding | Curling edges or damage from fasteners | Clean inspection and light assembly |
| Surfaced CNC spoilboard | Flat relative to the machine after surfacing | Grooves and holes accumulate; can be resurfaced | Machine-plane error or excessive surfacing | CNC workholding and shallow cuts |
Check every new sheet on the table before fastening it. Rotate it, inspect the perimeter, and compare it with a straightedge in both diagonals and across the middle. Fasteners can pull a slightly crowned sheet down at the edges while leaving a hollow in the centre, so do not use screw tension as a substitute for a flat sheet.
Keep the reference surface useful
A flat workbench is a measuring tool, not just furniture. Protect its accuracy with habits that cost little:
- Sweep or vacuum before placing a panel on the top.
- Use a thin removable mat for dirty operations, then remove it before checking flatness.
- Keep glue squeeze-out from hardening under fences and stop blocks.
- Check the top after major seasonal humidity changes or after moving the table.
- Mark one reference edge and one reference corner so fixtures return consistently.
- Replace the sacrificial top when holes, cuts, or swelling make it interfere with measurement.
For a quick inspection, place a reliable straightedge in several directions and look for light under it. A feeler gauge can help distinguish a local nick from a broad bow. If the table is supported on a flexible floor, check it both loaded and unloaded. A surface can be flat while empty and change shape when a heavy panel is placed on it.
The table does not need to be perfect to be useful. It needs a known condition, a way to detect change, and a top that can be replaced without rebuilding the structure. Build the torsion box carefully, keep the skins separated by a properly fitted grid, and spend the saved money on clamps or material rather than decorative hardware.
Frequently asked questions
How flat does an assembly table need to be?
Flat enough for the tolerance of the work. Cabinet panels and frame glue-ups need a surface that does not visibly rock or force parts into position. For tighter work, use a straightedge and feeler gauges to measure the actual deviation, then compare it with the joint or panel tolerance you need. There is no useful universal flatness number for every project.
Is MDF good enough for a sacrificial assembly-table top?
Usually, yes. MDF is a sensible low-cost choice for indoor glue-ups and layout if its edges stay dry and it is supported continuously. Replace it when swelling, cuts, or compressed clamp points begin to affect the work. A more expensive top is justified by a specific moisture, wear, or release problem, not by the assumption that expensive sheet goods are automatically flatter.
Should the torsion box be glued to the base?
Not necessarily. A torsion box that can be removed is easier to inspect, move, or replace if the base changes. Fasten it securely enough that the base cannot rack under load, but avoid making the entire table impossible to service. The torsion box supplies the reference stiffness; the base supplies support and working height.
We build made-to-order assembly tables and CNC fixtures through custom woodworking and CNC precision cutting.
Related services
All services →Have a project in mind?
Tell us what you want built — we reply within 24–48 hours.