
- cherry wood
- cherry darkening
- cherry blotching
- maple
- wood finishing
Cherry Wood vs Maple: Why Cherry Darkens, Not Stains
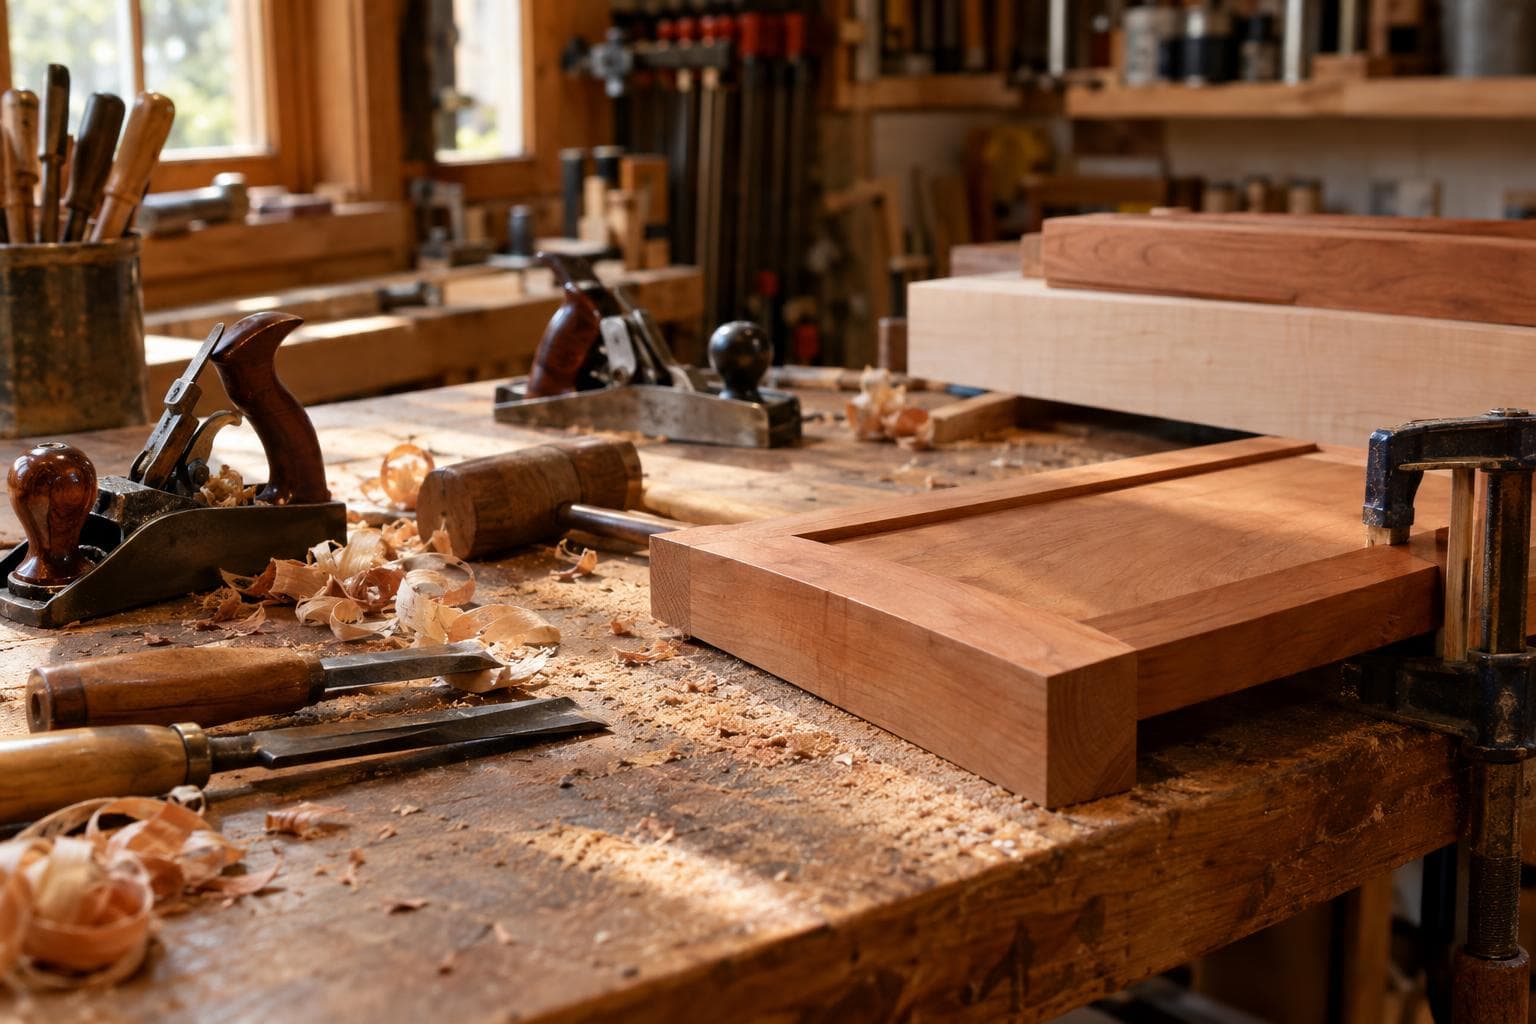
Cherry wood is often chosen for the color it will have years from now, then stained to force that color on day one. That is usually the wrong trade. We would default to clear-finished cherry for a warm, changing patina, and choose maple when a light, controlled starting color matters more than natural aging.
Cherry wood vs maple at the bench
Cherry and maple are both workable hardwoods, but they solve different appearance problems. Cherry starts pinkish to light reddish brown and becomes deeper, warmer, and more brown-red with light exposure. Maple starts pale and usually stays much closer to pale, though finishes can add amber color and sunlight can still change it.
| Property | Cherry | Maple |
|---|---|---|
| Ultraviolet response | Darkens measurably under ultraviolet light over months; exposed areas develop a warmer red-brown tone | Usually shows less dramatic color change, though sunlight and finish yellowing still affect it |
| Grain and absorption | Moderately open, variable grain; end grain and softer areas can absorb stain faster | Fine, closed grain; uneven absorption can still cause strong blotching |
| Machining | Cuts and sands predictably, but tear-out remains possible around reversing grain | Harder, often brighter at the cut edge, and prone to burn marks if cutters are dull or feed is too slow |
| Natural color goal | Suits a clear finish and gradual cherry darkening | Suits a pale, even appearance or a deliberately colored finish |
| Stain failure mode | Uneven absorption plus a moving color target as the wood continues darkening | Blotchy patches, especially with dark or highly pigmented stains |
| Typical decision | Pick it for warmth and patina | Pick it for light color stability or a more neutral starting point |
The table is a decision tool, not a promise about every board. Cherry varies with board position, growth rate, and how much sapwood is present. Maple varies between hard maple, soft maple, figured stock, and flat-sawn or quarter-sawn surfaces. A sample from the same board remains more useful than a finish chart.
Our default is cherry with a clear film finish, hardwax oil, or another finish selected for the intended wear and sheen. The specific finish changes how quickly the color appears to move, but it does not turn cherry into a color-stable material.
Cherry darkening is a finish decision
Cherry darkening is a photochemical response, driven largely by ultraviolet light and visible light exposure. It is not limited to a single dramatic sunbeam. A piece in a normally lit room can change over months, with the greatest shift usually occurring on exposed faces and near windows.
That matters even if stain looks right immediately after application. The wood beneath the stain continues to respond to light, and the stained piece will keep changing under the stain. The result is not necessarily bad, but it is less predictable. A red-brown stain may become too dark, too red, or uneven against areas where the underlying boards responded differently.
The classic test is a partly covered board. Leave a card, tool, label, or other object on cherry while the exposed area darkens. Remove it later and the covered strip remains lighter, creating a sharp shadow line. That line is permanent in the normal sense that ordinary exposure will not make the covered wood catch up quickly. Resurfacing the board may remove the difference if enough material is taken away, but moving the object and waiting longer is not a reliable repair.
Finish can slow the change if it includes useful ultraviolet protection, but no clear finish should be treated as a permanent color lock. Refinish schedules, room lighting, and direct sun all alter the rate. If two parts must match years later, control their exposure and accept that cherry is still a moving target.
Cherry blotching is the trap stain creates
Cherry has enough variation in density and absorption that liquid stain can collect in some areas and barely color others. End grain, softer earlywood, sanding scratches, glue residue, and uneven surface preparation all make the contrast worse. The broad dark patches are cherry blotching, and another coat usually increases the difference rather than evening it out.
Maple is not a safe escape from this problem. Its fine grain can make blotches especially visible because a dark patch sits against a very light background. Hard maple also tends to show scratches and burnished areas as changes in stain absorption. A stain that looks acceptable on a pine test piece tells you almost nothing about either hardwood.
If color must be added, test the entire finishing sequence on offcuts from the actual project:
- Plane or sand the sample with the same final abrasive and the same sanding direction as the workpiece.
- Include an edge and an end-grain area if those surfaces will be visible.
- Apply the proposed conditioner, washcoat, dye, stain, and topcoat in the same order and quantities.
- Let the sample dry for the full interval before judging it. Wet stain hides some unevenness and a fresh topcoat changes the apparent color.
- Put part of the sample in bright light and cover part of it. The contrast reveals both short-term blotching and later cherry darkening.
A thin washcoat can reduce absorption contrast, but it also reduces how much stain the wood accepts. That means the final color may be lighter, weaker, or less saturated than the label suggests. Gel stain can sit closer to the surface and give more control, while dye can produce a cleaner color but may still leave density differences visible. Neither method removes the underlying UV change.
This is the point where the cheap option is often the correct one: do not buy a new finishing system before making a controlled sample. Clear finish over properly prepared cherry costs less, takes fewer variables out of the process, and preserves the reason to choose cherry in the first place. A specialty conditioner does not fix a color target that will keep moving.
When maple wins the comparison
Choose maple when the design depends on a light, quiet background, when neighboring parts need to begin close in color, or when later cherry darkening would make a mismatch obvious. Maple is also the better starting material for a painted surface when the goal is a clean, uniform base and the grain is not meant to carry the appearance.
That choice does not make maple effortless. A clear finish can yellow it, and a dark stain can expose every difference in sanding and absorption. Maple also needs sharp cutters and sensible feed pressure. Burn marks from a router bit or saw blade can be harder to remove than expected because they penetrate below the surface.
Choose cherry when the grain, warmth, and aging are part of the design. In that case, sort boards for a compatible color range, keep sapwood placement intentional, sand consistently, and finish the whole visible set together. Do not leave one face covered during a long interval while the other faces receive light. If a temporary covering is necessary, expect a shadow boundary and plan for resurfacing or accept the mark.
A practical finishing decision
For a project on the bench today, use this sequence:
- Decide whether the finished color is allowed to change. If no, cherry is already working against the requirement.
- Compare clear-finished cherry with stained maple on samples from the actual stock, not on photographs.
- Expose part of each sample to the light while the finish cures and ages. Record the date and keep the covered section intact.
- Inspect under the lighting where the piece will live. Workshop lighting can hide blotching that daylight reveals.
- Commit only after checking the dry color, absorption pattern, sheen, and covered-versus-exposed boundary.
Our default remains clear-finished cherry when the project benefits from patina. Maple wins when color control and a pale starting point matter more than the material's natural shift. Staining cherry is not forbidden; it is just a poor default when the stain is being used to prevent the very color development that makes cherry worth selecting.
Frequently asked questions
Does cherry darken under a clear finish?
Yes. Cherry darkens measurably under ultraviolet light over months, even beneath a clear finish. A finish with ultraviolet protection can slow the change, but it does not make the wood color-stable.
Can cherry blotching be fixed after staining?
Sometimes, but the remedy depends on how deeply the color penetrated. Sanding back may remove shallow unevenness, while a washcoat, gel stain, dye, or darker final color can reduce the visual contrast. Test the repair on an offcut first; adding more stain without controlling absorption usually makes blotching worse.
Is maple easier to stain than cherry?
Not automatically. Maple's fine grain can produce conspicuous blotches, especially with dark colors. Maple is the better choice when a pale, neutral base is wanted, but a controlled stain still requires consistent preparation and a sample of the actual stock.
We build made-to-order custom woodworking; request a quote.
Related services
All services →
Have a project in mind?
Tell us what you want built — we reply within 24–48 hours.