
- planer sled
- flattening wood
- hand plane
- router sled
- small shop milling
Planer Sled Projects to Flatten Stock Without a Jointer
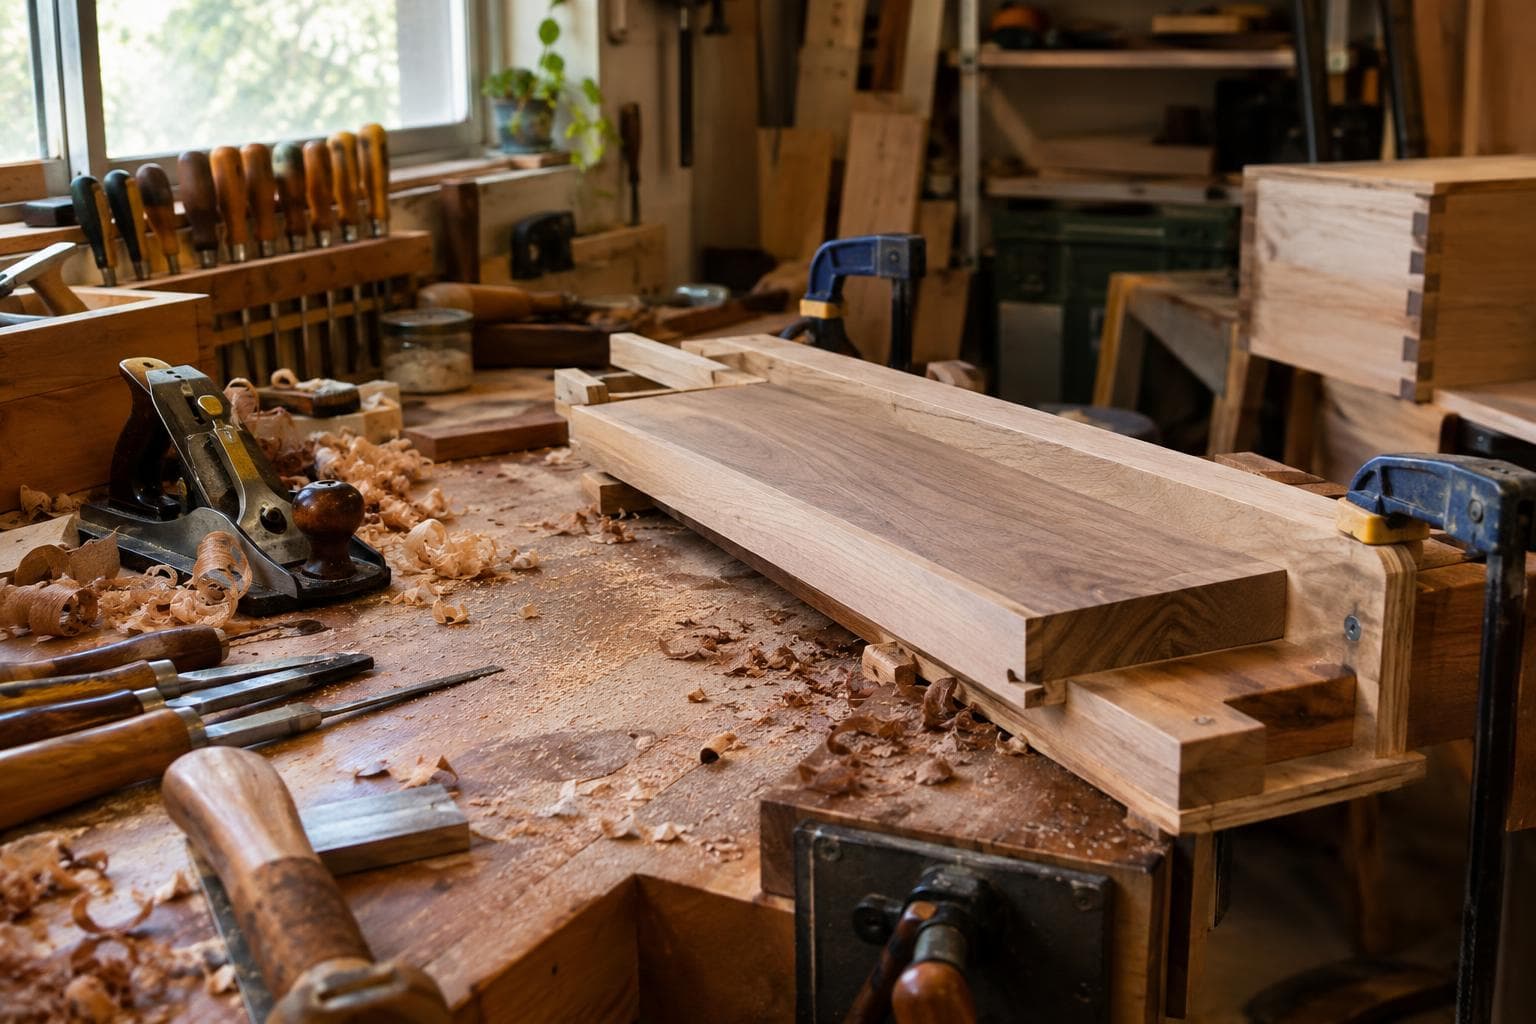
A jointer is not the only way to get a flat reference face. The better choice depends on whether your stock is short and manageable, too wide for your machine, or too twisted to hold still.
For most hobby shops, we would start with a planer sled and add a hand plane before buying a jointer. A planer sled is cheap, stores against a wall, and handles boards that are awkward only because they rock. A hand plane is slower but has almost no capacity limit. A router sled earns its space when the stock is too wide or too heavy for the planer.
What each flattening method actually does
A jointer removes material from the underside while the board rides on a bed. Its limit is not just cutter width. Bed length matters just as much, because a short board can be supported and controlled differently from a long one. A board longer than the bed can tip or lose support before the cutter has established a reference face.
A thickness planer works from an existing reference face. Feed a twisted board directly into it and the rollers press the twist down temporarily. The cutter then makes the top face parallel to the twisted underside. The board exits thinner and still twisted.
A planer sled changes that relationship. You shim the board so it cannot rock, then send the sled and board through the planer together. The sled gives the planer a stable reference face, so each pass removes the high points from the upper face without copying the original twist. After one face is flat, remove the shims, flatten the second face in the normal way, and finish at the required thickness.
A hand plane removes the high areas by eye and by measurement. A router sled suspends a router over the work and sweeps a cutter across it. Both can flatten stock that a planer cannot accept, but they trade speed for control and setup.
The decision in practical terms
- Choose a planer sled for ordinary boards, reclaimed stock, and small-shop milling where storage space matters more than labour.
- Choose a hand plane for short boards, one-off repairs, and work where the final surface should show tool marks rather than cutter marks.
- Choose a router sled for slabs, glued panels, and stock wider than the planer, provided you can build a rigid reference frame.
- Choose a jointer only after checking the bed length, cutter width, infeed and outfeed support, dust extraction, and permanent floor space.
The cheap method is often good enough. For a cabinet side or a short tabletop component, building a planer sled costs less space and money than adding a jointer. A larger machine fixes a capacity problem you may not have.
Planer sled, hand plane, or router sled?
The figures below are relative rather than promises. A sharp iron, a stiff sled, and a correctly supported board can change the result more than the name of the method.
| Method | Reference face | Practical capacity limit | Main failure mode | Setup sensitivity |
|---|---|---|---|---|
| Planer sled | Sled rails and shimmed board | Planer throat, sled length, and board width | Board rocks or shims shift | High at the first pass, low afterward |
| Hand plane | Existing surface checked with winding sticks | Arm reach, board length, and available support | High spots are missed or the sole bridges a hollow | Medium, but blade sharpness is critical |
| Router sled | Rigid rails or a flat spoilboard | Rail span, router travel, and cutter reach | Frame flex leaves a concave or ridged surface | High throughout the cut |
| Jointer | Infeed and outfeed beds | Bed length and cutter width | Stock tips, bows, or loses support | Medium, with support rising on long stock |
A planer sled is fastest once it is built, especially for several boards that need the same treatment. Its material cost is usually low: a flat carrier, side rails, shims, and stops. Its skill requirement is modest, but the carrier must stay flat and the board must not slide.
A hand plane has the lowest equipment cost if you already own one, and the highest labour cost. It has no fixed cutter width, so it can work a narrow strip or a broad panel in sections. The skill is in reading the surface, setting the iron for the cut, and checking diagonals instead of trusting touch.
A router sled sits between the two on speed and above both on setup effort. It can flatten wide stock, but rails, bridge, router, bit, and dust control take room. The surface often needs a final pass with a hand plane or abrasive because the router leaves lines at the overlap between sweeps.
For a shop short of space but not money, we would still pick the hand plane first if the work is occasional. If the boards are too large for comfortable hand work, buy or build the router sled. A planer sled is the best general answer when a planer already exists and the stock fits through it.
Four flattening projects worth building
1. A shimmed planer sled for twisted boards
Problem it solves: A board rocks on the planer bed, so the cutter follows the twist instead of removing it. The sled holds the board in one stable position while the upper face is cut.
Main parts and materials: Use a flat plywood or MDF carrier, straight side rails, a rear stop, hot-melt glue or removable double-sided tape, and thin shims cut from plywood, veneer, or plastic. The carrier must fit safely through the planer with the board on top. Keep fasteners below the cutter path and use a stop that cannot catch the rollers.
Harder than it looks: Shimming is not a matter of filling every visible gap. The shims must support the board at the points that stop rocking without lifting it into a new curve. Place the board on the sled, press at opposite corners, and add support until the movement stops. Mark the contact points before the first pass.
Take shallow passes. If the first cut only touches a few high spots, that is useful information rather than a reason to force the feed. Continue until the entire target face has been touched, then turn the board over and establish parallel thickness from the newly flat face.
A sled with fixed rails is adequate for repeated stock widths. An adjustable rail or removable stop is better for mixed boards, but it adds parts that can move. For most hobby work, the simple carrier is the better build.
2. A hand-plane flattening station
Problem it solves: A hand plane works, but a loose board moves under the cut and a small bench makes long strokes awkward. This station gives the board a repeatable reference and tells you where material remains.
Main parts and materials: Build a dead-flat or deliberately replaceable bench surface, a low front stop, a few side dogs, winding sticks, a reliable straightedge, and a marking gauge. Add a scrub plane iron or a cambered blade only if the stock is badly uneven. A standard jack plane with a moderate camber can handle much of the work.
Harder than it looks: A stop that holds the board end-on can split narrow stock or allow the board to climb over it. The stop needs enough height to resist the stroke but not so much that it prevents the plane from reaching the edge. Test it with the plane unloaded, then take cuts in the direction that keeps the board seated.
Mark the face with pencil lines. Work diagonally across the high areas, check with winding sticks for twist, then use longer strokes along the grain to remove the diagonal tracks. A straightedge checks hollows; winding sticks reveal twist. Neither replaces the other.
This project is not worth building as a dedicated fixture if you already have a flat bench, a stop, and a way to check twist. Spend the effort sharpening the iron and learning the checks instead. The upgrade fixes a storage problem only if your current bench cannot hold the work.
3. A rigid router sled for wide panels
Problem it solves: A tabletop, glued panel, or slab is wider than the planer and too large to flatten comfortably with a hand plane. The router removes material in controlled passes while the work stays supported.
Main parts and materials: Use two straight, stiff rails, a bridge that spans them without racking, a router base or plunge router, a bit suited to the machine, a sacrificial surface, and clamps that cannot interfere with the bridge. The rails need a stable support under their full length. If they sag, the finished surface will follow that sag.
Harder than it looks: Keeping the bridge square to both rails is harder than making the frame look square. Measure the diagonal relationship at both ends, check that the bridge does not bind, and test it across the whole travel before mounting the router. A bridge that rocks produces a washboard surface even if the rails are straight.
Set the cutting depth from the highest point and take shallow passes. Overlap each pass enough to avoid ridges, but do not assume more overlap makes the surface flatter. The router bit, feed rate, span, and material determine the useful starting point. A test cut on scrap or an edge area tells you whether the machine is labouring, burning, or leaving ridges.
The sled removes the bulk of the material. A sharp hand plane, scraper, or abrasive pass may still be needed for the final surface, depending on the finish and the cutter marks you can accept.
4. A reference-checking kit for every method
Problem it solves: Flattening stops too early because the surface feels flat in one direction while still carrying twist or a hollow. This kit makes the inspection repeatable before more material is removed.
Main parts and materials: Make two matching winding sticks from straight stock, keep a known-straightedge, add a marking knife or pencil, and use feeler gauges or thin shims to estimate gaps. Store the sticks together so they remain a matched pair.
Harder than it looks: The sticks must have parallel working edges and enough contrast to show a small height difference across the board. If one stick is twisted, it can make a flat board appear twisted. Check the pair against each other and rotate one stick end for end before trusting the reading.
Place one stick near the far end and one near the near end, then sight across their top edges. Reverse the board and repeat. Check diagonals as well as the long axis. This kit does not flatten stock by itself, but it prevents wasted cuts with a planer sled, hand plane, or router sled.
Build order and common mistakes
Start by measuring the largest board you expect to flatten, not the smallest board currently on the bench. That measurement sets the sled width, rail span, storage method, and whether the planer is useful at all.
Before cutting the fixture parts, check these points:
- Confirm the planer throat and minimum stock thickness with the machine manual. The sled itself consumes height.
- Use a straightedge to check the carrier and rails in several positions, not just along one edge.
- Keep shims low enough that the board cannot rock, but do not wedge it upward into the cutter.
- Mark the feed direction and keep loose shims, glue beads, and stops away from the cutter path.
- Support long stock before and after the machine so its weight does not alter the cut.
- On a router sled, check rail sag with the bridge in the middle and at both ends.
- Stop removing material once the reference face is continuous. Extra passes do not improve a surface that is already flat.
Dust collection matters most with a router sled because the cutter is exposed over a large area. Hearing and eye protection remain necessary for all three methods. A hand plane is quieter, but a shaving can still hide a split or a fastener, so inspect reclaimed stock before the first cut.
The most common conceptual error is confusing flat with parallel. A board can have two flat faces that are not parallel. Once one face is established, use that face against the planer bed or support and remove material from the opposite face until the thickness is consistent.
Frequently asked questions
Can a planer sled flatten a board without a jointer?
Yes, if the board fits through the planer and the sled can support it without flexing. Shim the board so it cannot rock, establish one flat face, then use that face as the reference for the opposite face. The sled does not make a board wider than the planer opening or longer than your safe support setup.
Is a router sled more accurate than a planer sled?
Neither is automatically more accurate. A planer sled depends on stable shims and a flat carrier. A router sled depends on straight rails, a rigid bridge, correct overlap, and consistent depth. For a board that fits the planer, the planer sled is usually faster. For a panel wider than the planer, the router sled is the practical choice.
How do I know whether hand-planing is faster for my board?
Check the amount of material to remove, the board's length and width, and the sharpness of the blade. A short board with a few high spots is often faster by hand than by building a fixture. A long twisted board or a production-sized batch favours a sled. Use winding sticks and a straightedge to measure the work instead of judging by feel alone.
The Boss Factory builds made-to-order Custom Woodworking and CNC & Precision Cutting projects through the quote form.
Related services
All services →
Have a project in mind?
Tell us what you want built — we reply within 24–48 hours.