
- laser cutting
- cut order
- inner shapes first
- lightburn
- cnc workflow
Laser Cut Order: Cut Inner Shapes First
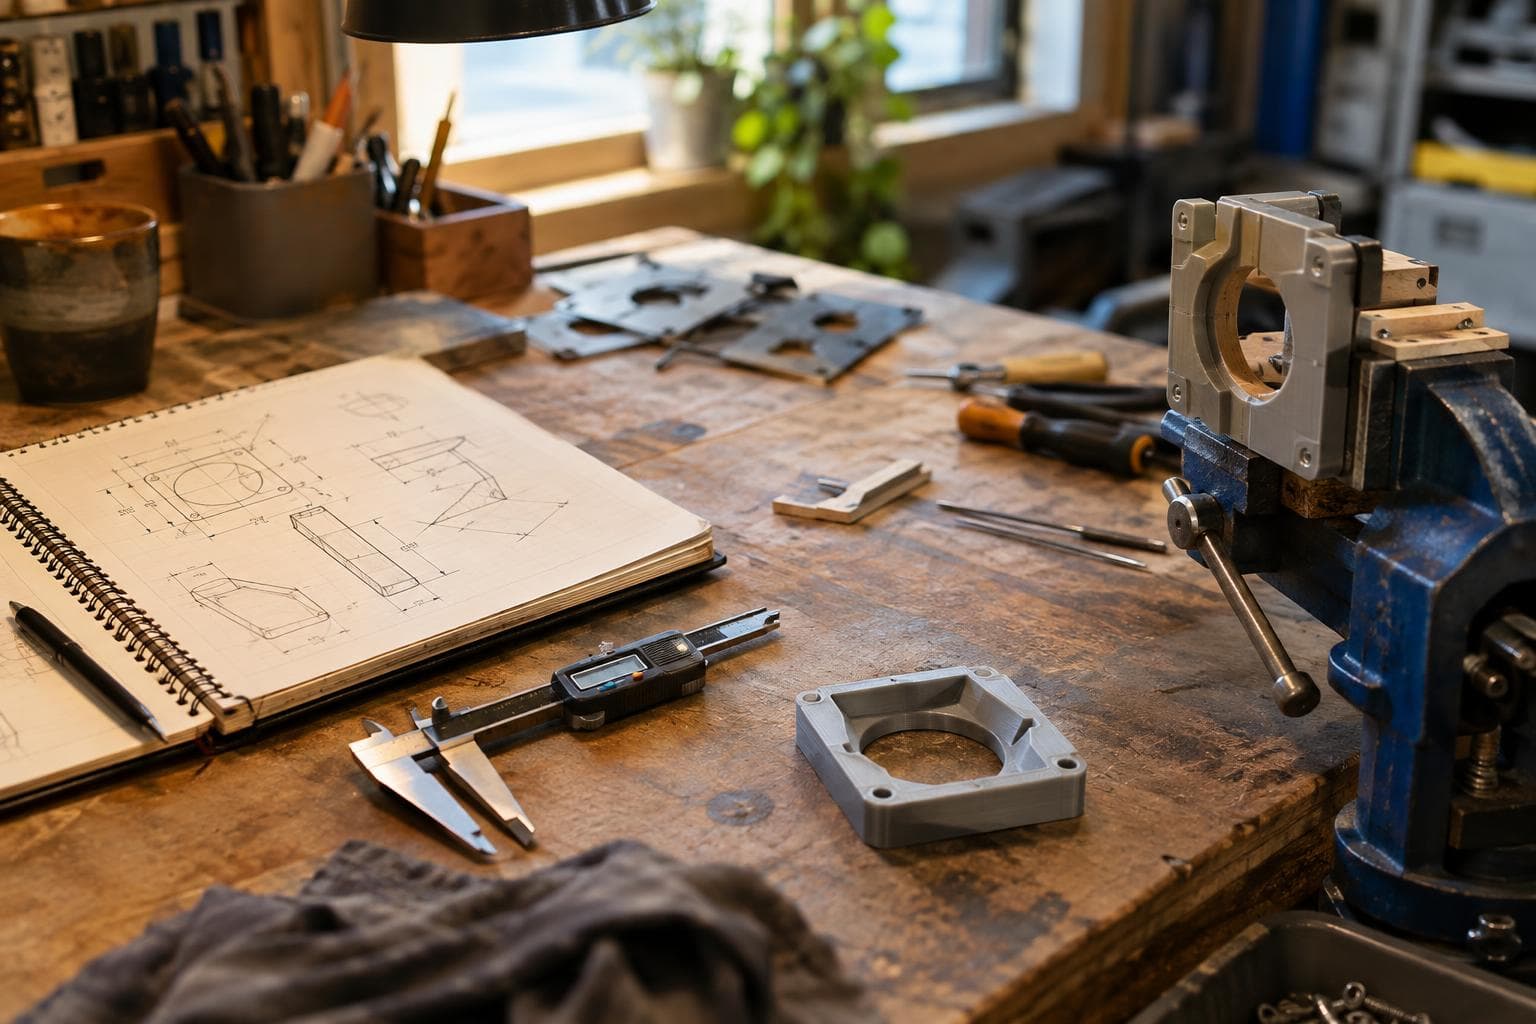
A laser-cut part can look correct in the preview and still fail on the bed. The usual cause is cutting the outside profile before the holes, slots, or pockets inside it. Once the outline is cut free, the part can shift before the next operation reaches it, so the reliable rule is to cut inner shapes first and the outside profile last.
Why the outer profile must wait
A sheet stays registered because its surrounding material is still connected to the rest of the sheet. The laser can return to any coordinate while that connection remains intact. Cut the perimeter first, and the finished part is loose. Air movement, the nozzle, a slight vibration, or the next rapid move can move it before an interior operation runs.
That creates several common failures:
- A hole is cut partly in the wrong place because the part moved.
- A slot or pocket is missed because the loose part shifted away from the planned path.
- The laser cuts into the bed or honeycomb after the part moves under the beam.
- A small interior piece drops through the grid, leaving a gap where the software still expects material.
The same logic applies to a ring, a sign with letters removed, a mounting plate with bolt holes, or a panel with a rectangular opening. The outside profile is the operation that releases the workpiece. It belongs at the end of the cut order.
This is not a rule about visual appearance. It is a registration rule. A cut can have enough heat, speed, and power to be correct in isolation and still be wrong because the material was no longer held in its original position.
Set inner shapes first in the laser software
Most laser software has an explicit option to cut inner geometry first. Use it instead of relying on the order in which paths appear in the drawing.
In LightBurn, open Edit > Device Settings, then check the Optimization settings for the device profile. The label and location can vary between LightBurn versions, but the relevant control is Cut inner shapes first. In a job with several layers, also open the Cuts / Layers panel and check the layer priority. Layer order can still affect which group runs first, depending on the selected optimization settings.
A practical LightBurn setup is:
- Put engraving, scoring, or marking operations in their intended layers.
- Put interior cuts, such as holes and slots, on a cut layer.
- Put the outside profile on its own cut layer.
- Enable Cut inner shapes first in the optimization settings.
- Use the preview and step through the operation order before sending the job.
- Make the outside profile the final cut operation if the software permits custom ordering.
A tutorial may show one cut layer containing every vector, while your file may have separate layers for engraving, holes, and the perimeter. If your software honors layer order before its inner-shape sorting, the checkbox alone may not produce the sequence you expect. Preview the actual job, not the tutorial's screen arrangement.
In RDWorks and similar controller software, look for an optimization or path-order panel with wording such as Inner to outer, Inside first, or Optimize cut path. Exact labels depend on the controller and software version. In LaserGRBL, path ordering depends on how the imported vector paths are interpreted and on the selected vectorization or optimization behavior; importing a file with holes first does not guarantee that order. If the program does not expose a clear inner-first control, separate the operations into explicit groups or files and run the perimeter last.
Do not confuse shortest travel with safe cut order. A path optimizer may reduce head movement while still choosing an unsafe perimeter-first sequence. For this job, containment and workholding matter more than saving a few seconds of travel.
Verify the file before sending the laser cut order
The preview is where the file becomes a process rather than a drawing. Slow it down, step through the paths, and watch for the first operation that releases material.
Check these points before pressing start:
- Every hole, slot, letter opening, and internal cut appears before the matching outside profile.
- Separate parts are not nested in a way that lets an early perimeter release another part.
- Small loose pieces are either cut late or held with tabs, bridges, or a remaining web of material.
- Engraving and scoring occur while the sheet is still stable.
- The preview uses the intended layer colors, power, speed, and number of passes.
- The origin and material position have not changed since the file was framed.
A useful test is to hide every operation except the cuts. Then identify each closed contour. For a part with a hole, the hole is an inner contour and the perimeter is an outer contour. If the preview shows the perimeter first, stop there and fix the ordering.
For a laser cut order with several separate parts, the safest sequence is not always “all holes in the sheet, then all perimeters.” A hole in Part A can be followed by the perimeter of Part B, provided Part A remains connected and the machine's travel does not disturb it. We usually keep each part's internal cuts before its own outline, then arrange the parts to reduce movement without allowing an early cut to release neighboring material.
Material, heat, holding still, and CNC
Correct order prevents a loose part from shifting, but it does not solve every movement problem. Thin plywood, paperboard, leather, and flexible acrylic can lift, curl, or move from heat and air movement while still attached to the sheet. A clean inner-first sequence is necessary, not a substitute for a flat bed and suitable hold-down.
For thin sheet material, use the least power and slowest or fastest speed combination that produces a reliable cut on your machine, then confirm it with a small test. The correct setting depends on material thickness, adhesive content, focus, air assist, lens condition, and the machine's optical output. A manufacturer's material chart is a starting point, not a guarantee.
Heat also changes the decision about repeated passes. If one pass does not cut through, repeating the same path can increase charring and distortion. A better result may come from a different speed and power combination, but that must be tested on scrap from the same material. Do not change cut order to compensate for an underpowered or poorly focused setup.
For acrylic, watch for parts that remain attached by a thin uncut bridge. They can spring or tilt when a nearby cut finishes. For wood sheet, inspect the back for incomplete cuts that may cause the part to tear loose during a later move. For leather, movement and smoke staining can be more significant than edge color, so masking and hold-down deserve their own test.
The cheap solution is often good enough here: if the sheet is flat and the internal geometry is simple, the software's inner-first setting and a preview may be all you need. Do not buy a camera, alignment kit, or more powerful laser to solve a path-order problem. Those upgrades address other problems, such as registration, focus, or throughput. They do not make an unsafe perimeter-first file safe.
The same physical rule applies to CNC routing, but the menu names differ. CAM software may call the setting cut ordering, inside-out, containment, machining order, or profile order. A pocket or internal slot should generally run before the outside contour, and tabs should hold the part until the final contour pass.
A CNC tool can push a nearly free part more aggressively than a laser's air assist can, especially during a climb or conventional profile cut. For that reason, we usually assign the outside contour its own final operation and add tabs or an onion-skin allowance when the part needs support. The exact tab size and spacing depend on cutter diameter, stock thickness, grain direction, feed rate, and how the part will be removed.
| Operation type | Safe order | Main holding method | Typical failure if ordered badly |
|---|---|---|---|
| Laser sheet with holes | Inner cuts before perimeter | Sheet connection, magnets, or suitable hold-down | Part shifts and holes land off position |
| Laser sheet with engraving | Engraving and inner cuts before perimeter | Flat sheet and stable focus | Loose part moves before marking or cutting finishes |
| CNC routed panel | Pockets and internal profiles before outside contour | Clamps, vacuum, tabs, or onion skin | Cutter grabs or moves the nearly free part |
| CNC pocket with a final contour | Pocket, drill, and slot operations before contour | Workholding sized for remaining stock | Final contour breaks through into an unsupported part |
In a CNC program, simulate the stock removal rather than inspecting only the toolpath lines. The simulation should show the part remaining attached until its final contour. Check that clamps are outside every toolpath and that a long internal cut does not create a loose island before the rest of the program finishes.
A repeatable inner-first workflow
Start with geometry, then assign process order. Keep the outside profile visually and logically separate from the features it contains. This makes the file easier to inspect when the design changes.
Before cutting, confirm the following sequence:
- Import or draw the vectors and remove duplicate lines.
- Identify every closed inner contour, including holes and enclosed letter counters.
- Assign engraving, scoring, drilling, pocketing, and interior cutting operations.
- Assign the outside profile last.
- Set the software's inner-shape or inside-out option where available.
- Check layer priority and custom ordering.
- Preview the path one operation at a time.
- Run a small material test if the power, speed, focus, or pass count changed.
- Frame the job and confirm the sheet has not moved.
- Watch the first cut long enough to confirm the machine is following the intended order.
If the controller gives no useful preview, split the job into separate files: engraving first, internal cuts second, and the outside profile last. That is less elegant than one optimized file, but it is easier to audit and often safer than guessing what an unfamiliar post-processor will do.
Frequently asked questions
Should engraving happen before or after cutting inner shapes?
Usually before cutting, while the sheet is still fully supported. Engraving after the part is loose creates the same registration risk as a late hole or slot. The exception is a process where heat, smoke, or masking makes the engraving unsuitable earlier; test that sequence on scrap rather than changing it by assumption.
Does “cut inner shapes first” work for separate parts on one sheet?
It protects enclosed geometry, but it does not automatically solve every multi-part layout. Check that each part stays attached until its own internal features are complete, and make sure a nearby perimeter cut cannot disturb a small loose piece. Preview the full sheet path.
What if my laser software has no inner-first setting?
Use separate layers or files and run all internal features before the outside profiles. If the software supports manual path ordering, arrange the closed contours from inside to outside and verify the preview. If it cannot show or control order, treat that limitation as a reason to use more conservative workholding and a test piece.
We build made-to-order laser-cut and CNC work, along with custom electronics, through /quote.
Related services
All services →Have a project in mind?
Tell us what you want built — we reply within 24–48 hours.