
- 3d printing
- bed adhesion
- brim vs raft
- skirt setting
- first layer
Brim vs Raft vs Skirt: 3D Print Settings That Work
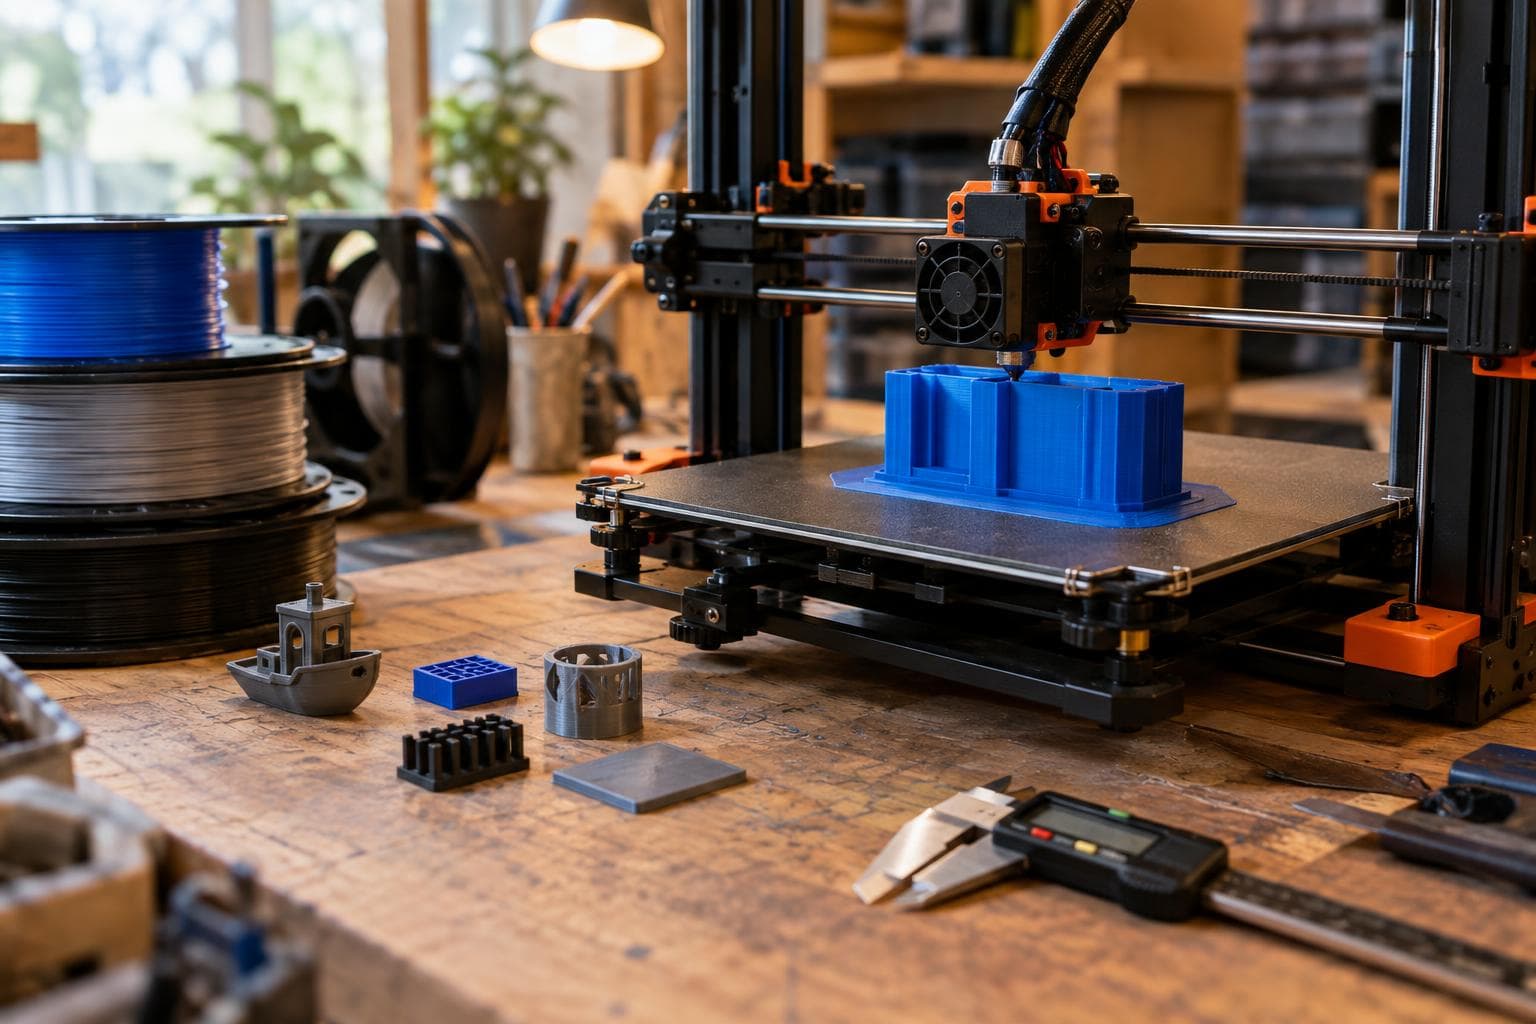
A skirt, brim, and raft may appear together in a slicer menu, but they do not solve the same problem. Start with a skirt for setup, add a brim for a part that wants to lift, and reserve a raft for cases where the part needs to be lifted completely off the bed.
Skirt, brim, and raft solve different failures
A skirt is one or more lines printed around the part without touching it. It primes the nozzle and shows the first layer before the part starts. That lets you see whether filament is flowing, whether the nozzle is too close, and whether the first-layer line is being laid down consistently. A skirt adds no adhesion at all.
A brim is a set of connected lines attached to the part’s first layer and extending outward across the bed. It increases the area resisting corner lift without moving the part away from the build surface. The model still gets its normal first layer, so its bottom surface and dimensions remain close to what the design specifies.
A raft is a separate printed platform under the part. The model sits on the raft rather than on the bed, so the raft can compensate for a difficult surface, a small contact area, or a bottom shape that does not want to print directly. The cost is substantial: a raft lifts the part off the bed entirely, which sacrifices the bottom surface finish and dimensional accuracy. It also adds print time and filament.
That gives us a practical order of attack:
- Use a skirt when the problem is nozzle preparation or first-layer inspection.
- Use a brim when the part is contacting the bed but its corners or narrow footprint are lifting.
- Use a raft when direct contact with the bed is the problem and a brim cannot fix the geometry or surface conditions.
Do not enable all three by habit. A raft already provides a platform around the model, and a brim already gives you extra first-layer area. Adding a skirt around either can still provide a visual purge line, but it does not improve the raft’s or brim’s grip.
Starting settings for first-layer helpers
The ranges below are starting points, not fixed recipes. The correct value moves with nozzle diameter, line width, bed condition, part height, print material, chamber airflow, and the slicer’s definition of each setting.
| Helper and setting | Failure it addresses | Starting range | Move the setting up when | Move it down when |
|---|---|---|---|---|
| Skirt loops | Unprimed nozzle or an unseen first-layer problem | 2–3 loops | The nozzle needs more purge or the first loop is not enough to inspect the bed | The first layer is already consistent and wasted filament matters |
| Skirt distance | Keeps the inspection lines separate from the model | 2–5 mm | You need a clearer view around a large or crowded first layer | You have limited bed space, while keeping the skirt separate |
| Brim width | Corner lift and poor resistance from a small footprint | 5–10 mm | The part is tall, narrow, exposed to a draft, or still lifting at the corners | The part is stable and the brim is difficult to remove |
| Brim line count | Corner lift when the slicer controls the brim by lines | About 5–15 lines | The line width is narrow or the contact area needs to grow | The brim is already wider than needed |
| Raft base layers | A model that cannot make reliable direct bed contact | 1–3 layers | The raft is not forming a flat, stable platform | The raft adds time without improving the first layer |
| Raft interface layers | Poor transfer from raft to model | 1–3 layers | The model face is uneven or the raft-to-model transition is weak | Removal is difficult and direct printing is already reliable |
| Raft separation gap | Model fused to the raft or separating too easily | Use the slicer’s material-specific starting value, then adjust in small steps | The model fuses to the raft or tears during removal | The model separates before the first model layer is supported |
The skirt setting deserves a closer look because its name can hide two different controls. Skirt loops controls how many outlines are printed. Skirt distance controls how far those outlines sit from the model. A skirt close to the part can make first-layer inspection easier, but it still should not be connected to the model. If you reduce the gap until it touches, you are asking for brim-like behavior while calling it a skirt.
Brim width is usually more useful than chasing a precise line count. A slicer may define width in millimetres, lines, or both. The result is governed by the actual line width and the number of connected paths. A 0.4 mm nozzle with a wider first-layer extrusion does not produce the same physical brim as a narrow line count on another profile. Measure the printed extension, not just the number in the dialog.
Raft settings are less portable between slicers than skirt and brim settings. Some slicers separate the raft into base, interface, and air-gap controls. Others expose different names or combine them. The important variables are the flatness of the raft, the support between raft and model, and the gap that permits removal. The material-specific value supplied by the slicer is a starting point, not a guarantee.
Pick the least intrusive helper first
Our default choice for a normal part is a skirt, because it costs little and tells us whether the machine is ready. If the part has a stable footprint and the first layer is already known to be good, the skirt can be reduced or removed. A skirt is not a cure for warping, and adding more loops will not make a loose corner stay down.
For most parts that lift, we would pick a brim before a raft. It keeps the part’s actual bottom face against the bed, preserves more dimensional accuracy, and is usually easier to remove. A brim is especially useful for tall parts with a small footprint, sharp corners, or a long perimeter that cools unevenly. It can also help a material that contracts during cooling, but the amount needed depends heavily on bed temperature, ambient airflow, part orientation, and the material profile.
Increase the brim when:
- Only the corners are lifting while the centre remains attached.
- The part has a narrow footprint compared with its height.
- Cooling air reaches one side of the part more strongly than the other.
- The first layer is sound, but the outer perimeter pulls upward later in the print.
- Removing a small brim will not damage fine details near the bed.
Decrease the brim when:
- It extends into nearby parts or consumes the bed area needed for another print.
- Removal tears the model’s lower edge.
- The part stays flat with a smaller extension.
- The failure was actually poor first-layer height, contamination, or an incorrect bed temperature.
A brim cannot correct a nozzle that is too far from the bed. It can hold a well-laid first layer down, but it cannot replace bed levelling, mesh compensation, a clean surface, or a suitable first-layer temperature. Treat those as the primary controls and the brim as a geometric aid.
Choose a raft only when the model’s direct first layer is fundamentally unsuitable. Examples include a contact face with severe curvature, a fragile arrangement of small contact points, or a surface that needs to be isolated from the bed. A raft can also help in cases where the part’s lower geometry is difficult to remove cleanly from the build surface, but that benefit comes with the lost bottom finish and accuracy.
The cheap option is often good enough: for a conventional flat-bottomed part with minor corner lift, a correctly sized brim is usually a better answer than a raft. A raft is not an upgrade. It fixes a narrower class of problems while creating its own cleanup and accuracy problems.
Why the number moves on your machine
The same brim width can behave differently on two printers. A textured surface may hold the first layer better than a smooth surface, while a worn or contaminated surface may release it early. A wide first-layer line can produce more contact from fewer brim lines. A narrow line may need more lines to achieve the same physical width.
Part geometry matters just as much. A wide, low object can have enough contact area without any helper. A tall column with a small base has a larger tipping force as the nozzle changes direction near the top. A brim helps by spreading the load outward, but the required width rises with the part’s height, cooling stress, and exposure to airflow.
Material changes the decision too. Materials that contract more during cooling generally demand better control of bed temperature and drafts, along with more careful geometry. Do not treat a larger brim as permission to ignore those controls. If the first layer is not bonded uniformly, adding 10 mm of extra plastic around the model only hides the real setting that failed.
The bed surface also changes raft removal. A raft that releases cleanly from one surface may bond strongly to another. The model-to-raft gap is therefore not a universal number. Adjust it in small increments, and judge both sides of the failure: fused parts mean the gap is too small or the interface is too dense, while a model that shifts or separates early means the support is too weak.
A test that dials in the setting
Use a small test model with the same footprint, height, material, nozzle, layer height, and first-layer settings as the real print. Do not test a brim on a wide flat square and then assume it predicts the behaviour of a tall narrow enclosure.
First print the model with a skirt. Watch the skirt as it is laid down. It should show a continuous line with consistent width and no gaps caused by under-extrusion or an excessive nozzle gap. Check the model’s first-layer lines as well. If they are inconsistent, fix the first layer before comparing adhesion helpers.
If the first layer is sound but the model lifts, print the same test with a modest brim. Start near the lower end of the range, inspect the corners after the print has cooled, and increase the brim width in small steps if the corners still rise. A useful test is to print several copies with different brim widths in separate runs, keeping every other setting unchanged. That shows the smallest width that survives rather than rewarding the largest one.
Use a raft for a separate test only when direct bed contact remains unsuitable. Record three results: whether the raft stays flat, whether the model remains supported through the first model layers, and whether the model can be removed without damaging its bottom. If the raft works but the underside is unacceptable, the result is not a successful replacement for direct printing. It is a deliberate trade.
After tuning, save the helper setting with the material and machine profile, not as a universal rule. A skirt that works for one nozzle and bed surface may be unnecessary on another printer. A brim that holds a tall part in still air may be inadequate beside a cooling vent. Keep the setting tied to the failure it solved.
Frequently asked questions
Is a brim better than a raft for warping?
Usually, yes, if the part can make a reliable direct first layer. A brim adds contact area while preserving the model’s normal bottom surface. A raft is appropriate when the model cannot use the bed directly, but it sacrifices bottom finish and dimensional accuracy because the part is printed on a separate platform.
Does a skirt improve bed adhesion?
No. A standard skirt is separated from the model and adds no adhesion at all. It primes the nozzle and gives you a visible check of the first layer before the part begins. If the goal is to hold down corners, use a brim or address the underlying first-layer and bed conditions.
How many brim lines should I use?
Start with enough lines to create roughly 5–10 mm of physical extension, then adjust from the result. The required line count depends on first-layer line width, nozzle size, part height, material contraction, airflow, and bed condition. Use the smallest brim that prevents lifting and still removes without damaging the lower edge.
We build made-to-order 3D printing and prototyping work through our quote form.
Related services
All services →
Have a project in mind?
Tell us what you want built — we reply within 24–48 hours.