
- control labelling
- engraved labels
- panel labels
- maker methods
- fabrication
Control Labelling: Engraved vs Printed vs Adhesive
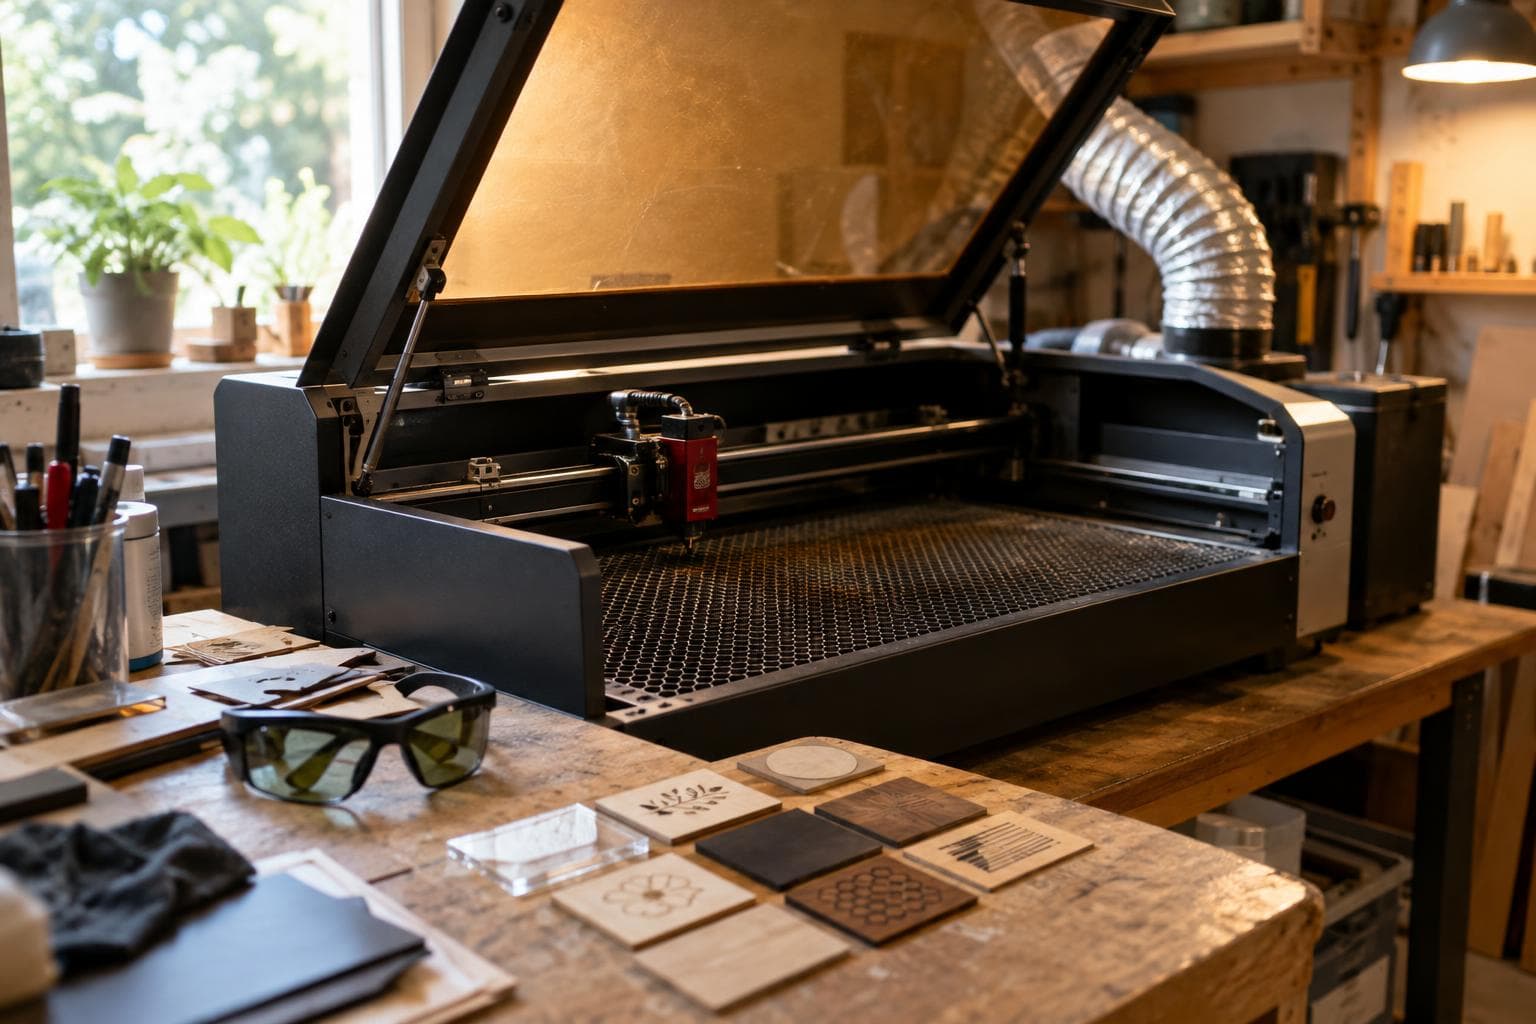
A control label can look perfect on installation day and become unreadable at the exact moment someone needs it. For a rigid panel expected to survive years of handling, we pick an engraved and filled label; adhesive labels are cheaper for short service, while printed and inked methods win only under specific quantity or finish requirements.
Start with the failure conditions
Control labelling is a wear problem before it is a typography problem. Identify what contacts the face, then identify what attacks it.
- Bare fingers transfer skin oil and grit, while gloves can drag dust across the surface.
- Cleaning solvent may soften an ink film, lift an adhesive edge, or attack a paint-filled engraving.
- Ultraviolet exposure fades some pigments and resins even if the face is never touched.
- Heat can soften an adhesive, distort a plastic plate, or change the bond between a printed label and its substrate.
- Repeated wiping creates a different failure than a single solvent spill: it removes a little surface material on every pass.
The location matters as much as the material. Printed and adhesive labels fade first where hands touch them most, which is exactly where the important controls are. A label beside a rarely used indicator has an easier life than a start, reset, mode, or emergency control.
Also separate the label from the panel. A durable mark on a poorly bonded plate still fails when the plate curls, lifts, or catches on a sleeve. A good label method leaves enough contrast after the expected wear, not just enough contrast under new-shop lighting.
How each control-labelling method actually fails
Engraved and filled
An engraved label removes material below the original face, then fills the recess with a contrasting coating or paint. The key advantage is mechanical: an engraved and filled label survives abrasion because the marking is below the wear surface. A wipe can dull the surrounding face without immediately removing the lettering from the recess.
This method suits rigid acrylic, wood, coated panels, and other substrates that cut cleanly and hold a stable recess. The substrate still determines the result. A soft material can bruise around small lettering, a brittle sheet can chip at tight corners, and a poor fill can shrink or pull away from the groove. Solvent resistance depends on the fill and the substrate finish, not on the word “engraved” alone.
Use a high-contrast fill and test a representative piece if the panel will live outdoors or behind a hot window.
Printed multi-material
A multi-material printed label can place dark lettering into a light plate, or produce raised and recessed colour features in one part. For FDM, the result depends on layer adhesion, material pairing, nozzle changes, purge behaviour, and the orientation of the text. Fine letters printed on the top surface can have cleaner edges than letters exposed on a vertical wall, but they remain part of the top surface and can wear down.
This method is useful when the label also needs a bracket, bezel, cable guide, or shaped housing. It avoids attaching a separate plate and makes unusual geometry inexpensive at low quantities. It is less attractive for a thin, flat panel label where the printer is being asked to make a part that could have been engraved.
Temperature limits follow the filament and the geometry. PLA, PETG, ASA, TPU, and other materials do not share the same softening behaviour or outdoor performance. A printed label near a warm enclosure, motor, lamp, or sunlit window needs a material choice based on actual temperature and sunlight, not colour preference.
Adhesive labels
Adhesive labels win on setup time, variable data, and low quantity. They can put a full instruction, symbol, serial number, or colour code onto a panel without cutting a recess. They are also the easiest method to replace during a prototype cycle.
Their weak points are edge lift, face wear, chemical attack, and bond failure. The adhesive must match the panel finish and the temperature range. A textured, dusty, oily, or low-energy surface gives less contact than a clean smooth one. Rounded corners usually resist catching better than sharp corners, and cleaning around the label should avoid soaking the edge.
For a temporary panel, a service label, or a control box that will be replaced before its finish matters, adhesive is often good enough. This is the upgrade we would not buy for a low-touch indoor prototype: an engraved panel can cost more time and material without solving a problem that exists.
Ink directly on the face
Ink gives a thin, clean mark and can be fast once the artwork and process are set. It works well for dense graphics, colour keys, and labels that need no raised edge. Its durability depends heavily on the ink chemistry, cure, substrate, and any clear protective layer.
A direct ink mark fails from the top down. Finger oils and cleaning cloths polish it, solvents soften it, and sunlight changes the pigment or binder. A clear coat can improve abrasion and chemical resistance, but it adds another surface that can scratch, yellow, or delaminate.
Compare the method against the job
The table assumes a flat, rigid control panel and a label that must remain readable for years. Actual results move with the substrate, coating, adhesive, ink system, print orientation, and cleaning chemical.
| Method | Setup and time per part | Wear and strength | Temperature and solvent behaviour | Sunlight behaviour | Cost per part and main failure |
|---|---|---|---|---|---|
| Engraved and filled | Moderate setup; efficient for repeated flat parts | Strong against face abrasion because the mark is recessed; substrate can chip or bruise | Recess protects the mark, but fill and panel coating set chemical limits; heat depends on substrate | Usually better retained contrast than a surface-only mark, but fill and substrate can fade | Moderate per part; failure is worn or detached fill, damaged substrate, or reduced contrast |
| Printed multi-material | Longer preparation and print time; efficient when the label is also a shaped part | Layer direction, top-surface wear, and material bonding govern strength | Filament choice sets heat behaviour; solvents can attack one or both materials | Material-specific; outdoor filament and pigment selection matter | Moderate for small runs; failure is layer separation, scuffed lettering, warping, or colour mismatch |
| Adhesive label | Fastest for one-offs and changing artwork | Film scratches and edges can lift; bond depends on surface preparation | Adhesive and face film have separate limits; heat and solvent can soften either | Pigment and film may fade; handling accelerates loss at touch points | Low for small quantities; failure is fading, peeling, scratching, or trapped contamination |
| Direct ink | Fast after process setup; efficient for dense graphics and larger runs | Surface film takes all abrasion unless protected | Ink, cure, substrate, and clear coat determine resistance | Pigment, binder, and clear coat determine fade rate | Low to moderate at quantity; failure is rubbed ink, solvent damage, yellowed clear coat, or fading |
Pick by quantity, not habit
For one to five temporary or low-touch panels, adhesive labels are usually the sensible choice. They make artwork changes cheap, and replacing one label is easier than remaking a plate. Use a clean, dry face, round exposed corners, and keep the label away from the area that gets wiped most.
For a small run of permanent flat panels, we pick engraving and fill. The setup is justified once the panel will be handled, cleaned, or read under poor lighting. It also keeps the lettering legible when the surrounding face accumulates scratches.
The quantity flip is not a universal number, but a practical starting point is this:
- At roughly one to five parts, adhesive or direct ink usually wins on elapsed time.
- Around five to a few dozen identical flat parts, engraved and filled often gives the best balance of labour, wear, and appearance.
- At dozens to hundreds of identical parts, printed or inked production can become cheaper if the artwork is fixed and the process has already been set up.
- Above that, calculate the actual break point from fixed setup time divided by the per-part saving. Include artwork cleanup, masking, fill cleanup, print changeover, inspection, and rejected parts.
Multi-material printing flips the answer sooner if the control label is part of a custom enclosure or includes mounting geometry. It flips later if the only goal is black text on a flat face. Do not compare print time with engraving time while ignoring the extra assembly step for a separate printed plate.
Finish requirements can move the decision as well. A recessed filled mark has a tactile edge and a machined character. Ink is flatter and better for dense colour. Adhesive can offer the most readable fine detail on a prototype. Multi-material printing makes sense when the label needs depth, shape, or integration with the part.
Before committing to a run, make a small test with the actual panel, fill, ink, adhesive, or filament. Rub it with the intended cloth, expose it to the intended cleaner, and check it after heat and light exposure representative of the installation. A method that passes a solvent wipe but fails after repeated dry wiping is not a durable control label.
Frequently asked questions
Is engraved lettering always more durable than printed lettering?
No. Engraving gives the mark protection from abrasion because it is below the face, but the fill can fail and the substrate can be unsuitable. A well-cured, protected print can last longer than a poorly filled engraving in a mild environment. Compare the complete surface system and the actual cleaner.
Are adhesive labels suitable for industrial control panels?
They can be suitable for indoor, low-touch panels, temporary builds, service identification, and applications with planned replacement. They are a poor default for controls that are wiped often, handled with dirty gloves, exposed to solvents, or placed in direct sun unless the label film and adhesive have been tested for those conditions.
How can I choose between ink and an engraved panel label?
Choose ink for dense graphics, colour coding, and a thin flat finish when the ink system can tolerate the environment. Choose an engraved panel label when abrasion and long-term contrast matter more than the lowest setup time. If the panel is touched daily, start with the recessed mark and verify the fill against the cleaner and temperature in service.
The Boss Factory builds engraved panel labels and control labelling to order through laser cutting and engraving, CNC and precision cutting, and custom electronics.
Related services
All services →
Have a project in mind?
Tell us what you want built — we reply within 24–48 hours.