
- engraving slate
- slate laser settings
- laser engraving
- slate
- maker techniques
Engraving Slate: Why the White Mark Cannot Be Undone
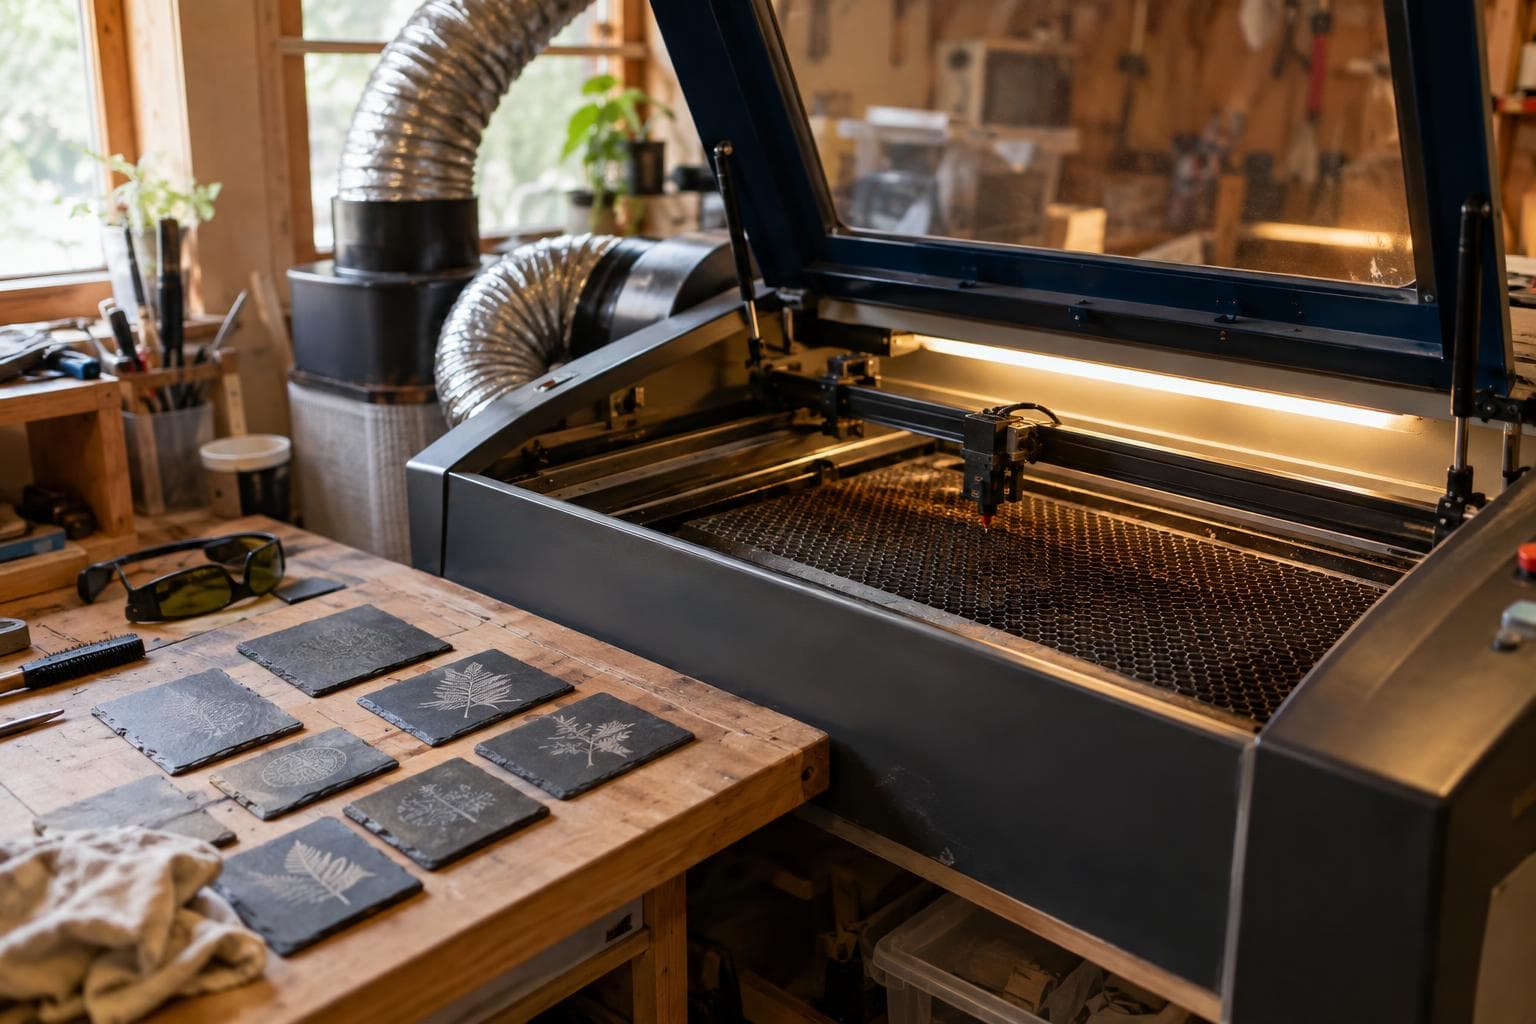
A common claim about engraving slate is that the laser burns a white image into the surface. That is close enough to survive in workshop advice, but wrong in the part that matters. The light mark comes from micro-fracturing the slate surface, so it is usually lighter than the slab, cannot be recoloured by running the laser again, and will vary from piece to piece.
What a laser actually does to slate
Slate is a layered natural stone, not a painted sheet with a predictable topcoat. Laser energy heats a shallow area quickly. The surface expands, contracts, and breaks into a fine network of fractures. Those fractures scatter light, which makes the engraved area look pale or white against the darker surrounding material.
The laser has not deposited white material. It has not exposed a hidden white layer. It has changed the texture of the existing surface. That distinction explains several results that otherwise seem inconsistent:
- A second pass can make the mark more visible, but it cannot make it a darker colour.
- Wiping away loose dust can reduce apparent contrast without removing the fractured surface.
- A clear finish can change gloss and contrast, but it does not turn the mark into printed ink.
- Very dark slate can show a stronger light-dark contrast than grey slate even with the same file and settings.
The useful version of the myth is that the mark is permanent. The inaccurate version is that the laser creates a controlled white pigment. An engraved area can collect grime, be abraded, or become less visible under a different finish, but ordinary cleaning does not reverse the micro-fracturing.
Why identical slate gives different marks
Natural stone varies in hardness and colour between pieces from the same batch. Slate also contains layers, mineral inclusions, cleavage planes, and changes in surface density. A setting that gives a clean pale mark on one tile can produce a softer grey mark, a rougher patch, or a small chipped area on another tile from the same box.
Colour variation affects both the mark and its contrast. On a dark slab, the fractured surface may read as bright. On a lighter slab, the same physical change may look grey or muted. A photograph can exaggerate this difference because reflected light from the roughened area is strongly affected by the camera angle.
Hardness changes how much energy is needed to create a visible fracture. A softer section may mark heavily and shed more loose material. A harder section may need more energy before the mark is clear. More energy is not automatically better: excess heat can enlarge the fractured zone, soften fine details, and increase edge chipping.
Slate laser settings need a test matrix
There is no universal slate laser setting. The right starting point depends on the laser type, optical output, focus, lens, bed setup, slate thickness, surface texture, and the particular piece. Software power percentages are not comparable between machines, so copying a percentage from another setup is weak evidence.
Our preferred approach is a small test matrix on the actual material. Keep the artwork, focus, and scan direction consistent, then vary power and speed in controlled steps. The goal is not the palest mark. It is the clearest mark with clean small details and no unnecessary chipping.
What to inspect after each test
- Check thin lettering at the smallest size the finished piece will use.
- Compare the mark before and after brushing away loose dust.
- Look for chipped corners, widened strokes, and rough patches in solid fills.
- Inspect the reverse side for heat effects if the slate is thin.
- Repeat the best-looking test on a second piece before committing to the final artwork.
Focus deserves particular attention. Slate is rarely as flat as it looks, and a shallow focus error can change the apparent mark width across one tile. A fixture that holds the piece steady helps, but it cannot remove variation inside the material.
Extraction and cleanup matter as well. The process creates fine particulate, and loose residue can settle back onto the surface. Clean the piece with a method that does not grind that residue into the surrounding slate. Test any soap, brush, or finish on waste first because a cleaner surface can change perceived contrast.
Laser engraving versus other ways to add colour
If the requirement is a pale natural mark, laser engraving is the process to choose. If the requirement is a specific colour, the process must add colour after the surface is changed. That is a different job, with different durability and maintenance trade-offs.
| Method | What changes on the surface | Colour control | Main failure mode |
|---|---|---|---|
| Laser micro-fracture | A shallow network of fractures scatters light | No direct colour control; contrast comes from the slate and its texture | Weak contrast, chipped detail, or uneven marks from material variation |
| Rotary carving | A groove removes material and exposes a recessed surface | Limited unless a separate fill is added | Edge breakout, dust in the groove, and inconsistent depth along layers |
| Applied paint or fill | Colour sits in or over a cut or textured area | High colour control after a compatible fill is selected | Wear, adhesion loss, or paint left outside the intended mark |
For most hobby projects, adding paint just to force a white result is not worth the extra process unless the design needs a precise colour. The cheap route is often good enough: engrave the slate, clean it carefully, and accept the natural variation. A more powerful laser or a more expensive lens does not fix a colour-control problem that the process itself cannot solve.
If a uniform white image is the priority, a printed or painted surface is a better technical match than bare slate engraving. If the priority is a mark that belongs to the stone and does not depend on a coating, accept that the result will be lighter rather than digitally white.
Designing artwork for fractured slate
Fine detail is where the myth causes the most disappointment. A vector file can contain hairline strokes that the material cannot hold cleanly. Use heavier lettering than you would for a screen graphic, leave space between nearby strokes, and inspect reversed text at the intended physical size.
Solid fills can show more variation than outlines because they expose a larger area of changing hardness and colour. Large pale regions may also reveal natural layers that small marks conceal. That is not a software error. It is the material showing through the process.
Avoid judging a test only from a fresh engraving. Remove loose residue, view it under the lighting used for the finished object, and compare it with the surrounding slate. The final decision should be based on contrast and legibility, not on whether the mark looks white in one close-up photograph.
Frequently asked questions
Can you make slate laser engraving darker?
Not with the laser alone. The laser creates a lighter, fractured surface. A second pass may increase texture and contrast, but it does not recolour the mark. A separate paint or fill process is needed for a controlled dark colour.
Why did two slate tiles use the same settings but look different?
Slate is natural stone, and hardness and colour vary between pieces from the same batch. Layering, mineral content, surface flatness, and focus can all change the visible result. Test the actual pieces when consistency matters.
Do higher power slate laser settings make a whiter mark?
Higher power can make the mark more visible, but it can also widen strokes, increase chipping, and roughen the surface. Build a small power-and-speed test on the same material, then choose the lowest setting that gives the required legibility.
We build made-to-order slate work as custom signs and laser engraving; request a quote.
Related services
All services →Have a project in mind?
Tell us what you want built — we reply within 24–48 hours.