
- 3d printing
- outdoor prints
- freeze thaw
- fdm
- design for manufacture
Freeze-Thaw Prints: Design for Winter Outdoors
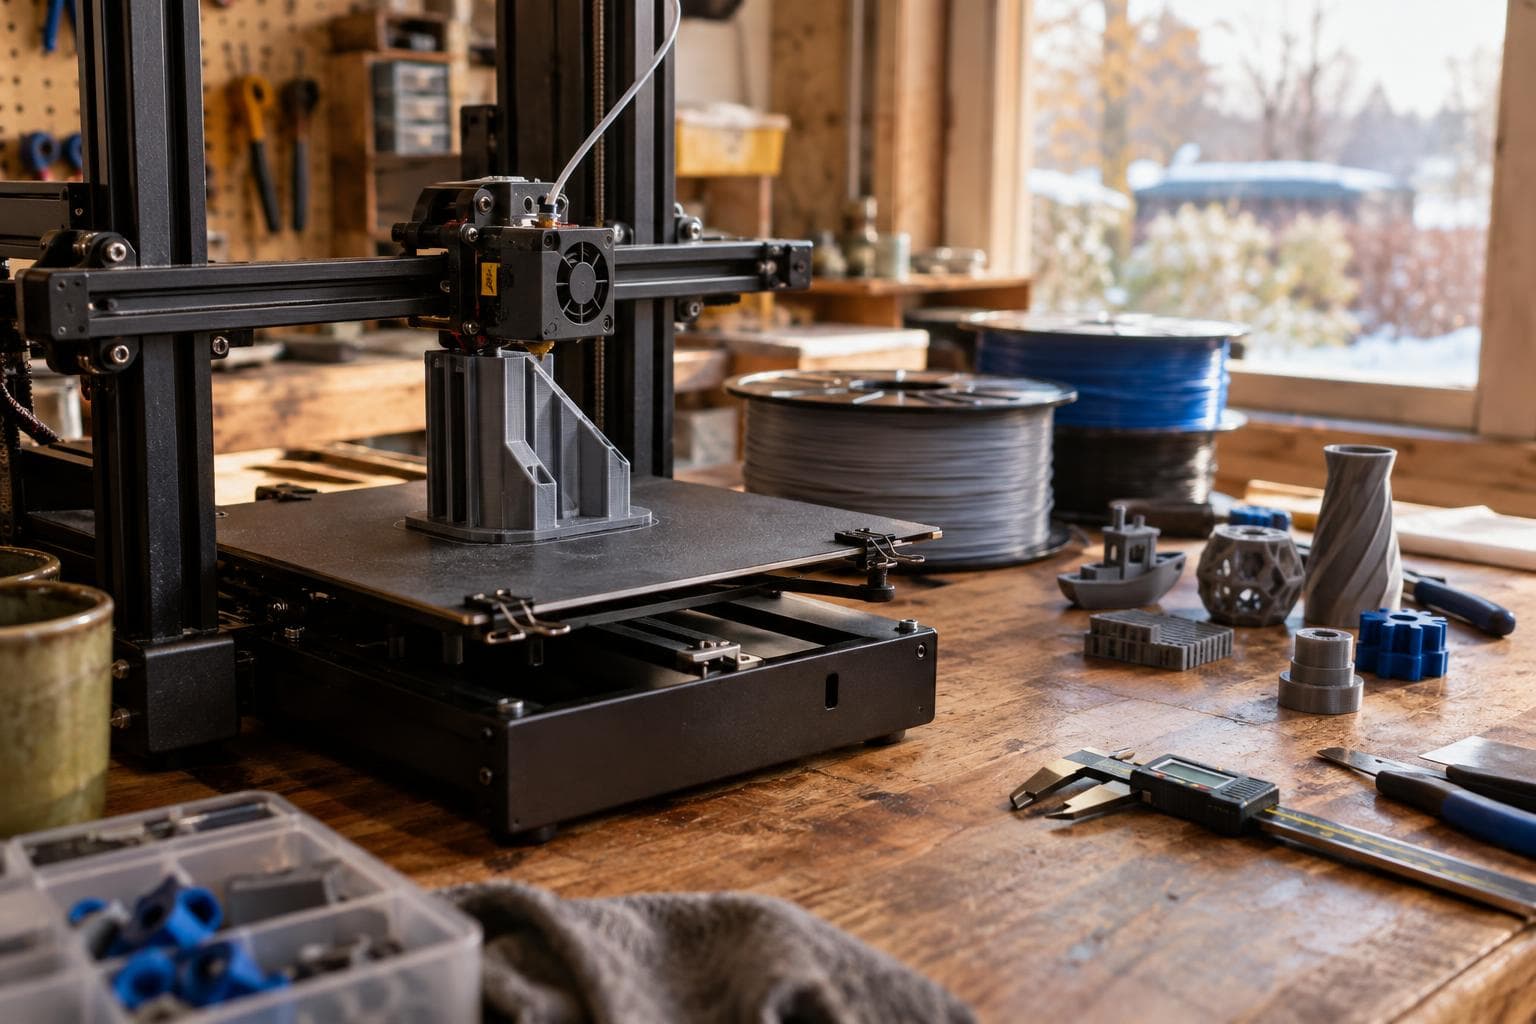
A winter outdoor print usually does not fail because the filament was not strong enough. It fails because water found a pocket or a layer boundary, froze, expanded, and got another chance to split the part on the next cycle. The reliable fix is to change the geometry so water cannot stay there, then seal the surface without trapping moisture inside.
How freeze-thaw damage starts in an FDM part
FDM parts are built from roads of plastic, stacked into layers. Even a well-tuned print has small interfaces between adjacent roads and layers. Those interfaces are not automatically open channels, but they become routes for water when the surface has pinholes, a seam, a crack, an exposed infill gap, or a joint that lets water in.
Water expands as it freezes. In a printed pocket or between layers, that expansion pushes against the surrounding plastic. One freeze may leave only a small crack. Repeated freeze-thaw cycles let more water enter, which increases the damage and can separate layers or split a thin wall.
The usual mistake is to specify a stronger filament before fixing the water path. A sealed surface and geometry that drains are more effective than choosing a stronger filament for a part that still collects water. Material matters, but it is not a substitute for removing the pocket.
A useful design review asks three questions:
- Where can water enter through a seam, hole, or exposed layer boundary?
- Where can it remain after the part is tilted or turned upside down?
- If water freezes there, what thin wall, corner, or layer interface receives the expansion force?
If the answer to the second question is anywhere inside the part, redesign before changing slicer settings.
Change the geometry before changing the filament
Treat every upward-facing cavity as a possible reservoir. A flat-bottomed pocket is the worst case because it can hold water against a broad surface. Replace it with a sloped floor, a through-opening, or a removable cover that seals around its perimeter.
For small outdoor housings and brackets, these starting dimensions are practical rather than universal:
- Use a drain opening around 3 mm or larger where a short path can carry water out. Increase it if dust, ice, or a long horizontal passage can obstruct it.
- Give a cavity floor a visible fall toward the drain. A slope in the 5 to 10 degree range is a useful starting point; steeper is better when the part can tolerate it.
- Avoid trapped horizontal ledges. A 45-degree chamfer or a rounded transition usually sheds water better than a sharp internal corner.
- Use at least 3 perimeter walls for a small enclosure exposed to weather, then verify that the wall is actually closed in the preview. Wall count alone does not make a part watertight.
- Keep holes and slots away from thin corners. A hole too close to an edge leaves a weak strip that can split when a fastener, ice, or a frozen plug loads it.
- Add a fillet at the base of bosses and brackets. The fillet reduces the stress concentration; it does not stop water by itself.
Orient the print so its most exposed broad surface is not asking one layer interface to carry the main bending load. For a tab or bracket, the load usually belongs in the plane of the layers rather than pulling layers apart. That choice often changes the support requirement, so check the overhangs before committing to it.
Do not design a sealed cavity with a tiny decorative vent and assume it will equalize safely. If the part contains electronics, the opening needs a deliberate drainage and sealing strategy, not a random hole at the highest point. A drain at the lowest point is useful only if air can enter or leave as water moves.
Pick the material for exposure, not for the label
The table below is a design comparison, not a ranking. Exact temperature limits depend on the formulation, print settings, load, color, and exposure time. The transition from a part that holds its shape to one that creeps is gradual, so the manufacturer's data sheet and a loaded test piece matter more than a single headline number.
| Material | Temperature and sun concern | Typical layer and water concern | Where it fails outdoors | Practical choice |
|---|---|---|---|---|
| PLA | Softens and creeps sooner in heat; UV and weathering vary by formulation | Can print with good layer bonding, but a porous surface still admits water | Heat distortion, brittleness, and repeated weather exposure | Shaded, cool locations or temporary parts |
| PETG | Better heat margin than PLA in many formulations; UV resistance varies | Often good layer adhesion, but stringing and seams can leave entry paths | Creep under load, surface weathering, or stress cracking in some environments | My default for many sheltered outdoor parts |
| ASA | Intended for better UV and weather resistance than ordinary PLA or PETG formulations | Layer bonding depends strongly on enclosure, temperature, and drafts | Warping, layer separation from poor thermal control, or unsealed seams | Exposed sun and weather when the printer can control the environment |
| TPU | Heat and UV behavior vary widely by grade; flexible parts do not hold rigid dimensions | Flexible walls can seal against some surfaces, but cuts and seams admit water | Permanent deformation, tearing, and dirt retention | Gaskets, feet, straps, and compliant covers rather than rigid housings |
PETG is often the sensible choice for a winter outdoor print that is shaded or partly protected. ASA is the better material for sustained sun and weather if the printer can produce consistent layer bonding. The upgrade to ASA fixes UV and temperature exposure; it does not fix a cup-shaped cavity or an open seam.
PLA deserves a narrower role outdoors. It can work in a cool, shaded location with little mechanical load, but a dark part in direct sun can reach a temperature that makes the design creep even when the ambient air feels moderate. Treat PLA as a location-specific choice, not a general winter material.
Seal the surface without sealing in a reservoir
A finish works after the print has been made dense and drainable. It cannot reliably bridge a deep crack that is moving under load, and it cannot remove water already trapped in infill or a blind cavity.
First remove strings, loose brim material, and sharp defects. Then inspect the seam, layer transitions, screw holes, and the underside. A bright light behind a thin wall can reveal inconsistent coverage, but it will not prove water-tightness.
For a coating or paint system, the important properties are adhesion to the chosen filament, flexibility through temperature changes, and resistance to the expected sunlight and moisture. Test it on a scrap print made with the same filament and settings. Some finishes stay on the surface while others soften, craze, or peel from a low-energy plastic.
Seal external layer texture and seams, but leave the drain path open. If a cover must be removable, use a gasket or a designed overlap rather than filling the joint with a brittle coating. A sealed joint that has no drainage plan can still trap water behind it.
A practical test is more useful than a claim of waterproofing:
- Let the print dry fully, then weigh it if a kitchen scale can resolve the change.
- Submerge or spray it in the same orientation it will have outdoors.
- Rotate it and check every cavity, seam, and drain for retained water.
- Dry the exterior, weigh it again, and inspect the inside after several hours.
- Flex or load the part before and after the test, looking for whitening, cracks, or layer separation.
For a critical part, repeat the wet-dry test before exposing it to freezing conditions. A part that leaks at room temperature has no useful winter margin.
Slice and test for the actual failure load
More walls and top layers can close a surface, but they also add time and can increase heat buildup or warping. Start with the geometry, then use the slicer preview to confirm that the proposed drain, roof, boss, and wall are made from continuous material rather than a thin skin over sparse infill.
For outdoor brackets, orient the layer lines around the load path, add generous roots to arms, and avoid relying on a single perimeter around a screw hole. For enclosures, make the roof slope toward a drain or the outside edge. For clips, keep the flexing section free of sharp layer-start features and test it after cold soaking.
A small test coupon should include the actual wall thickness, hole size, infill transition, and finish. Test it at the lowest temperature you expect, not only on a warm bench. If a fastener is involved, test the assembly with the real washer or insert because clamping can crush a thin printed wall.
The failure you want to prevent determines the test. Pull layers apart if delamination is the risk. Bend the bracket if it carries a load. Fill and drain the enclosure if water ingress plastic is the concern. Freeze-thaw print problems are rarely exposed by a tensile test alone.
Frequently asked questions
Is PETG or ASA better for a winter outdoor print?
ASA is the stronger choice for sustained sun and weather when the printer can control enclosure temperature and drafts. PETG is usually the more practical choice for shaded or partly protected parts. Neither material fixes water retention, poor orientation, or an open layer boundary.
Will epoxy make an FDM print waterproof?
It can reduce surface porosity and seal some seams, but only if it adheres to the filament and remains intact through temperature changes. It will not reliably repair a moving crack or drain a blind pocket. Design the part to shed water first, then validate the coating on a test print.
How large should a drain hole be in a printed outdoor part?
Around 3 mm is a useful starting point for a small part, provided the passage is short and accessible. Make it larger when debris, ice, a long channel, or a thick coating could block it. The right size is the smallest opening that still drains after the part is printed, finished, and tested in its installed orientation.
The Boss Factory builds custom, made-to-order 3D Printing & Prototyping and Design & Product Development work; request it at /quote.
Related services
All services →
Have a project in mind?
Tell us what you want built — we reply within 24–48 hours.