
GT2 Belt Tension: Set It by Feel, Prove It by Cutting
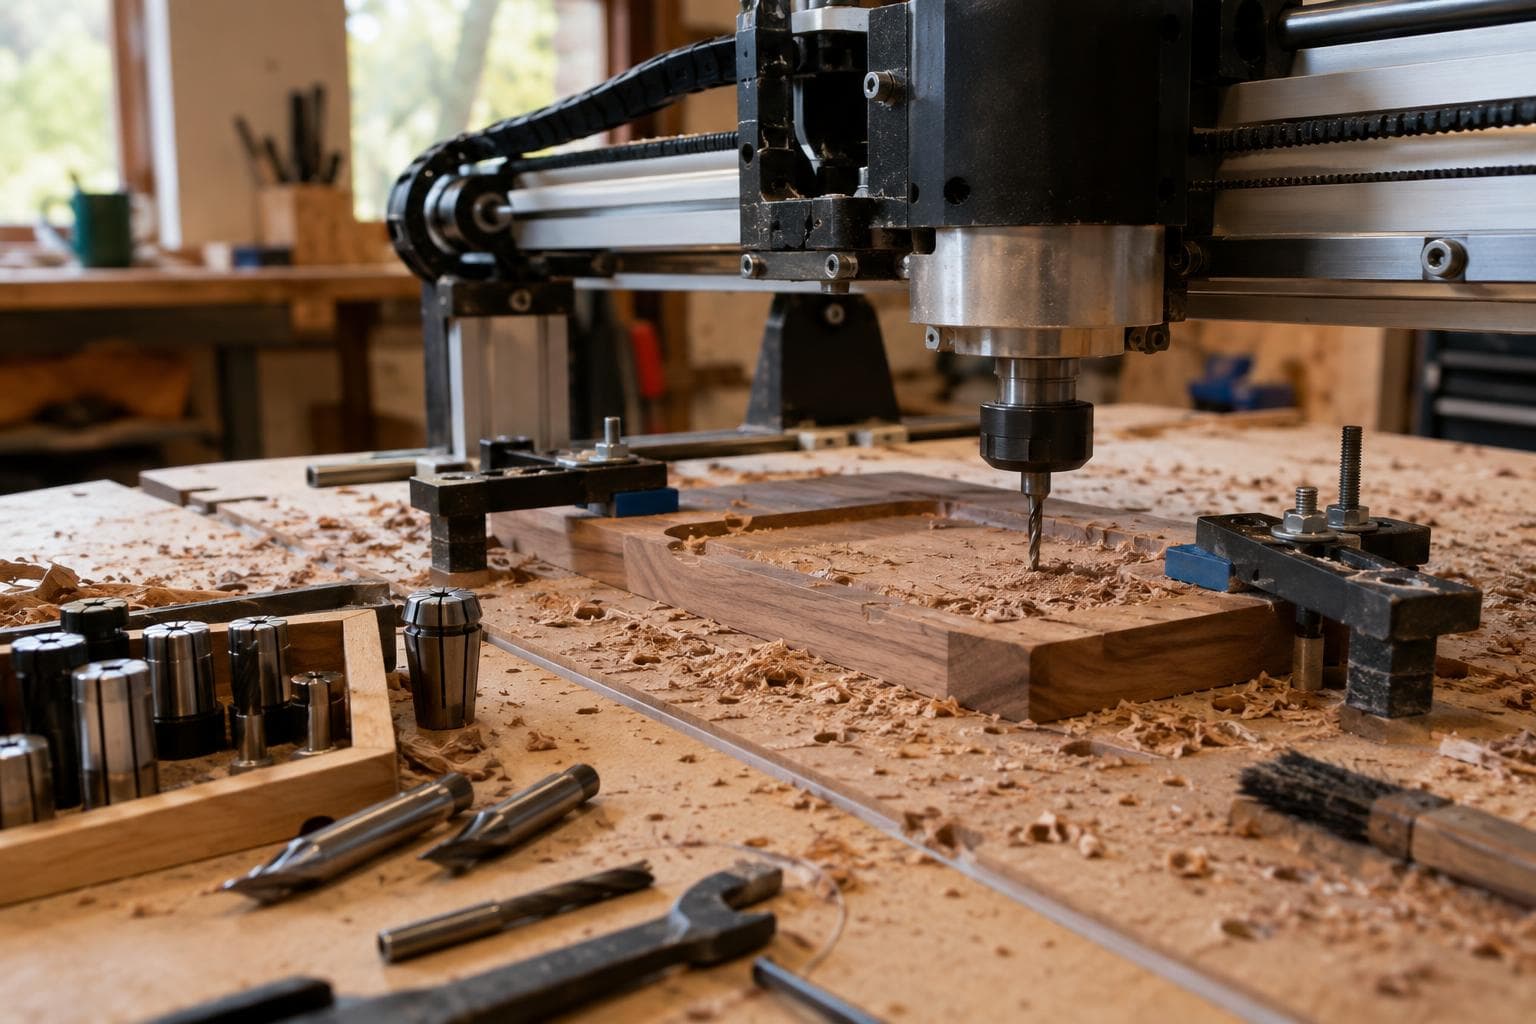
A belt that feels loose can let a CNC lose position under cutting load, but a belt pulled tight enough to sing can damage bearings and pulleys. The honest answer is to set tension by feel, then confirm it with a loaded test cut and measured square.
What belt tension is supposed to control
A belt drive has two separate jobs: it transfers motor force to the axis, and it keeps the carriage located while that force changes direction. Tension must be high enough that the teeth stay engaged and the belt does not visibly sag or jump under the machine's normal cutting load. It does not need to be as tight as possible.
GT2 belt tension is often discussed as though GT2 identifies one material and one correct setting. It does not. GT2 identifies a 2 mm tooth pitch and tooth profile; the belt's width, reinforcement, length, construction, pulley size, axis mass, acceleration, and cutting load still matter. A manufacturer's tension method for one belt and machine should not be copied blindly onto another.
A slack belt normally shows up as lost position under load. The cut may be dimensionally wrong, especially during direction changes or a heavy pass, while rapid moves with no cutting load look normal. Belt stretch under cutting load shows up as dimensional error, not as noise. A belt can sound perfectly quiet and still let the tool move away from its commanded position.
Over-tensioning causes a different problem. It transfers radial load into bearings and pulley shafts that were not sized for that extra load. The result can be stiff motion, bearing heat, premature wear, pulley misalignment, or a belt that stretches permanently. That tension does not buy useful accuracy once tooth engagement is already reliable.
Set the belt before cutting the test
Start with the machine powered down and the axis released from any holding force that could hide rough motion. Check the basic mechanical condition first. A loose pulley, missing set-screw contact with the motor shaft flat, damaged belt teeth, or belt rubbing a flange can imitate a tension problem.
Use this order:
- Move the axis through its full travel by hand if the machine allows it. Feel for tight spots, scraping, or a section that gets harder to move.
- Check that the belt tracks in the centre of each pulley and does not climb one flange.
- Inspect the teeth for rounding, cuts, contamination, or sections that have taken a permanent bend.
- Confirm that the idler pulley spins freely and does not rock on its shaft.
- With the tensioner loose, make sure the motor plate or idler can move without binding.
- Set the belt until it has no obvious slack and the teeth remain fully seated through the whole travel.
There is no reliable universal finger force for this adjustment. Belt width and free length change the result, and a long axis will deflect farther than a short one under the same touch. If the machine maker specifies a force and deflection measurement, use that method. If not, our starting point is moderate tension: firm when plucked or pressed lightly at mid-span, with no need to pull hard to remove the last visible sag.
Do not use a high-pitched sound as a specification. It changes with belt length, belt width, temperature, and how the belt is supported. A guitar-string comparison encourages over-tensioning and tells you little about load capacity.
After the first adjustment, move the axis repeatedly across its travel. Recheck the tension at both ends, because a misaligned pulley or a stiff tensioner can make one section feel tight and another feel slack. Tighten the tensioner hardware without shifting the motor or idler sideways, then repeat the hand movement.
Cut a loaded square and measure it
A square test is useful because it puts the axis through acceleration, steady cutting, cornering, and direction changes. It also gives you numbers instead of a sound or a fingertip impression.
Use the material, cutter, spindle speed, feed rate, depth of cut, and workholding you normally use for the job that is showing the problem. A test cut made with a very light pass can hide belt compliance. A cut made much heavier than normal can create tool deflection that is unrelated to tension.
A practical procedure is:
- Surface or secure a flat piece of plywood, MDF, or another stable test material. The test stock must not move during the cut.
- Program a square large enough to measure accurately, often 100 mm to 150 mm per side on a hobby machine. Keep the square within the machine's comfortable travel.
- Use the same cutter and cutting direction used for the suspected work. Cut the perimeter with the normal depth and feed, rather than engraving a shallow line that applies almost no side load.
- Make one test cut, then measure both side lengths and both diagonals. Measure from the same edges each time and avoid measuring across fuzz, burrs, or a rounded cutter mark.
- Repeat the cut without changing the tension. If the result changes between identical cuts, record which direction or corner changes and inspect backlash, pulley security, and workholding before chasing belt tension.
- If the error appears load-dependent, repeat with a lighter cut. A change in the measured result as cutting load changes is evidence of compliance somewhere in the drive or structure.
A good result is a square whose two side dimensions are close to the commanded size and whose diagonals match within the measuring method's repeatability. Equal diagonals matter more than a visual impression of squareness. If the diagonals differ, the shape is a parallelogram or another skewed form, and belt tension on one axis is only one possible cause.
Read the result before touching the tensioner
Use the result to make one change at a time. The table separates the common observations and gives the one adjustment that should come first.
| Test result or observation | What it points at | One adjustment to make first |
|---|---|---|
| Square measures close to size, diagonals match, and repeated cuts agree | Belt tension and basic mechanics are adequate for this load | Leave the tension alone and record the setup |
| Cut dimensions change when the pass is made heavier, while no-load moves repeat | Compliance under cutting load, often slack belt tension, loose pulley hardware, or a flexible frame | Increase belt tension slightly, then repeat the same loaded cut |
| Axis skips teeth, loses position suddenly, or the belt visibly lifts from the pulley | Tension is too low for the acceleration or cutting load, or the pulley is not retaining the belt correctly | Increase tension slightly and inspect pulley engagement before cutting again |
| Bearing or idler becomes noticeably hot, motion feels tight, or the belt is pulled hard against a flange | Excess tension or pulley misalignment is loading the rotating parts | Reduce tension slightly and realign the pulley path |
| Both diagonals match but both side dimensions are off by the same amount on repeat cuts | Steps-per-unit, tool diameter compensation, or the programmed geometry is wrong rather than the square being skewed | Calibrate the axis distance or tool compensation, not the belt tension |
| One diagonal is consistently longer than the other, with stable side dimensions | Gantry or frame is out of square, or one side is not moving in sync | Square the gantry or check the two drive sides before changing belt tension |
| The error stays the same in light and heavy cuts, and the belt feels normal | The cause is likely geometry, calibration, cutter runout, tool deflection, or workholding | Test those areas instead of tightening the belt |
The important distinction is load sensitivity. If a 100 mm square is 100 mm in a light pass and becomes smaller or skewed in a heavier pass, the machine is yielding under force. Belt tension may be responsible, but so may a loose pulley, a flexible gantry, a dull cutter, or a workpiece that lifts. Tightening the belt is only justified if the belt itself has visible slack or the tension change improves the repeated loaded result without making the bearings run hot.
If the dimensions are wrong by the same amount every time, tension is usually not the answer. A belt does not correct steps-per-unit calibration, cutter diameter, gantry squareness, or a tool bending away from the cut. This is where tightening becomes an expensive distraction.
A sensible final check
After any tension change, cut the same square again rather than judging the machine by hand movement. Compare the side dimensions, the two diagonals, and the result under the same cutting load. Then run the axis through its travel and check for belt tracking, new stiffness, or bearing heat.
The best setting is the lowest tension that prevents tooth skip and keeps the loaded test repeatable. That setting may feel less dramatic than an over-tight belt, and that is the point. Bearings and pulleys should guide and transmit motion, not act as a clamp for excess belt force.
Frequently asked questions
How tight should a GT2 belt be on a CNC machine?
Tight enough to remove visible slack and prevent tooth skip under the machine's intended acceleration and cutting load, but not tight enough to make the axis stiff or load the bearings. Use the machine maker's force-and-deflection method if one exists. Otherwise, set moderate tension by feel and confirm it with repeated loaded cuts.
Can a loose belt make a CNC cut noisy?
It can, but noise is not a dependable diagnostic. Belt stretch under cutting load appears as dimensional error, and the machine may sound normal while the carriage moves away from its commanded position. Measure a test square and compare light and heavy passes.
Should I tighten the belt if my test square is the wrong size?
Only if the error changes with cutting load or the belt has visible slack, tooth lift, or lost position. A consistent error with matching diagonals usually points to steps-per-unit, tool compensation, or programmed geometry. A diagonal mismatch more often points to gantry squareness, drive synchronization, or frame alignment.
We build CNC and precision-cut work to order through our quote form.
Have a project in mind?
Tell us what you want built — we reply within 24–48 hours.