
- loose tenon
- domino joinery
- floating tenon
- woodworking
- joinery
Loose Tenon Joinery: Why One Slot Saves Assembly
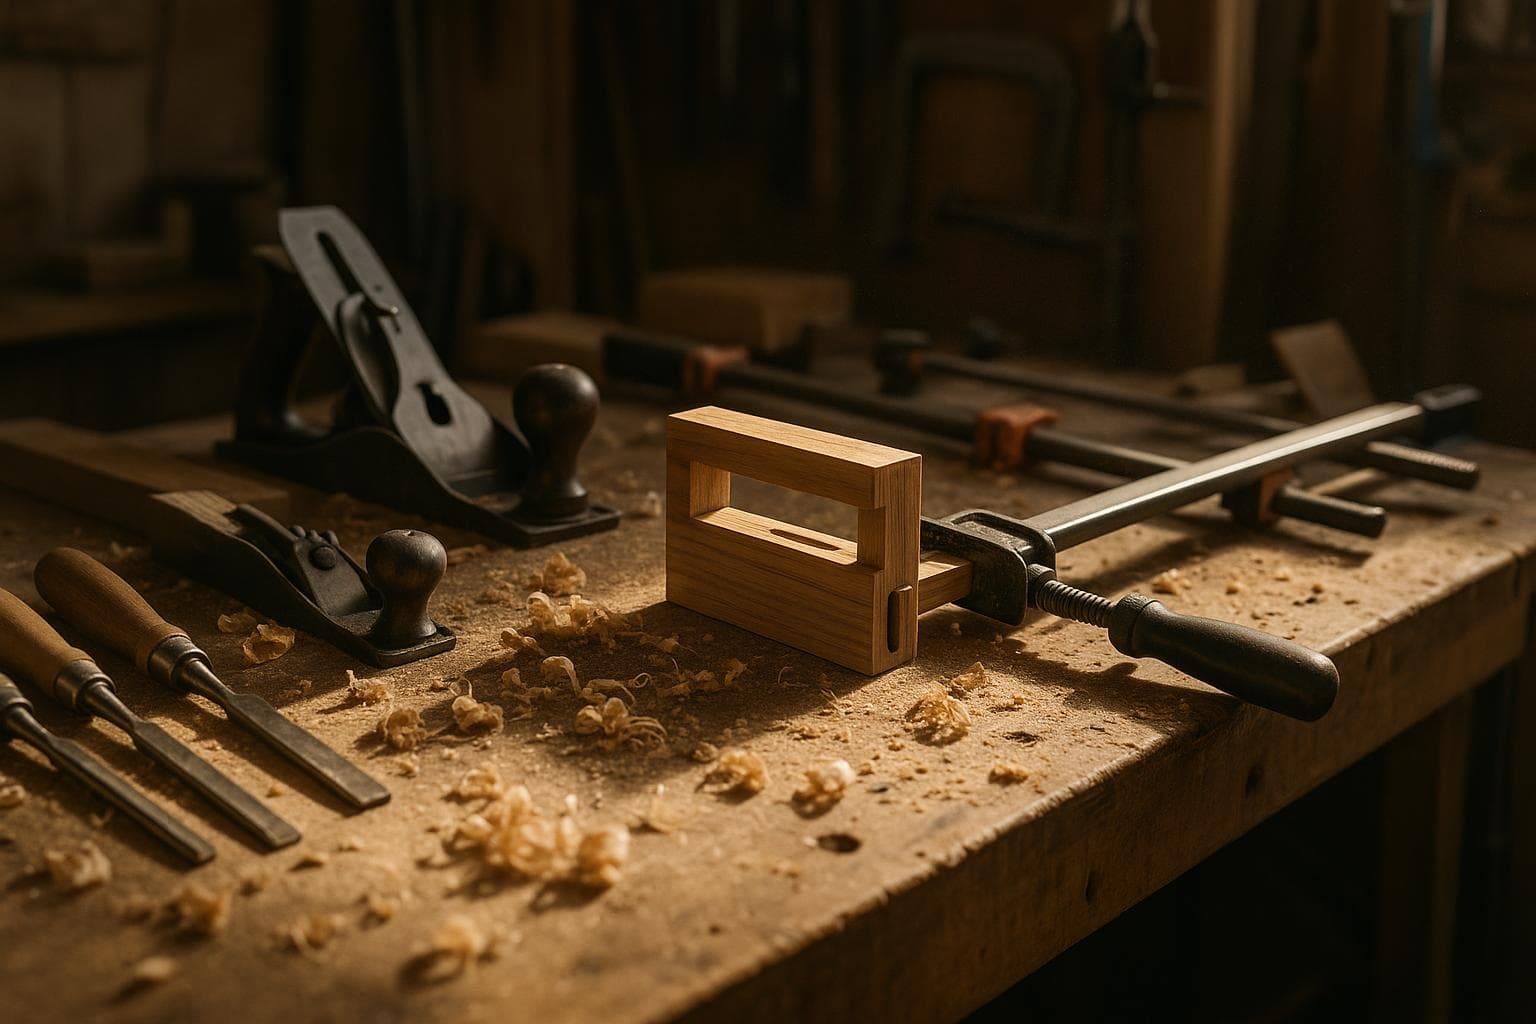
The practical question is not whether a loose tenon is strong enough. It is whether the joint earns its setup time for the part in front of you. For repeated furniture frames, the answer is usually yes, especially when one mortise is made wider to give the assembly room to line up.
What a loose tenon actually contributes
A loose tenon joint uses a separate piece of wood, usually called a floating tenon, fitted into a mortise in each mating part. The tenon is not relying on end grain glued to end grain. The useful glue area comes from the mortise walls and the long-grain faces of the tenon.
That gives the joint much of the structural behavior associated with a traditional mortise and tenon, without cutting a projecting tenon on one part and a matching cavity on the other. The separate tenon also makes the operation easier to repeat. A fixed fence, stop, and plunge depth can place the mortises in the same relationship on every rail and stile.
The strength still depends on details that a machine cannot rescue:
- Keep enough material outside the mortise to prevent a thin cheek from splitting.
- Leave enough length at the ends of the parts for the mortise to stop short safely.
- Match the tenon thickness to the cutter and mortise rather than forcing a loose fit with glue.
- Keep the joint faces flat so clamping pressure closes the shoulder instead of twisting the frame.
- Orient the tenon so its long-grain faces receive glue and the surrounding stock is not weakened by a short cross-grain section.
A tenon that fits the mortise with light hand pressure is the target. A mortise that requires hammering can starve the glue line or push the frame out of square. A visibly sloppy mortise may still glue, but it gives the adhesive a job that accurate wood contact should be doing.
Loose tenon versus other ways to join a frame
Use a small cabinet door or narrow table apron as the concrete part: two rails, two stiles, four corner joints, and a finish that should not show fasteners. Here is how the common methods compare before material and machine familiarity change the result.
| Method | Setup and per-joint time | Strength and load path | Finish risk | Cost per joint |
|---|---|---|---|---|
| Traditional mortise and tenon | Slowest by hand; efficient with a well-set mortiser and dedicated stops | Very strong when shoulders close and long-grain glue area is adequate | Low after setup, but shoulder gaps are visible | Low at quantity; high in hand labor for a few parts |
| Loose tenon | Moderate setup; fast and repeatable after fences and stops are set | Strong because each part has two glued mortise walls per side | Low; only the outside shoulders need to close cleanly | Moderate at low quantity, low for repeated frames |
| Dowels | Fast with a good jig; alignment depends heavily on jig accuracy | Good shear strength, but fewer broad glue faces and less tolerance for misalignment | Low if holes stay hidden; breakout is a risk near edges | Low for small batches |
| Pocket screws | Fastest setup for many utility frames | Adequate for supported carcasses; weaker against racking and dependent on screw holding power | Screw holes need plugs, filler, or a hidden face | Very low |
| Biscuit joinery | Fast alignment aid; limited structural depth | Useful for alignment and light frames, not a substitute for a deep structural joint | Low, provided the biscuit does not telegraph through a thin part | Low to moderate |
For the cabinet-door example, we would pick loose tenons if the door is expected to stay square, carry a panel, and receive a visible painted or stained finish. The method gives a deep joint without leaving plugs or screw pockets to disguise. A traditional mortise and tenon is at least as credible structurally, but its advantage grows when the parts are large, the tenon shoulders are part of the design, or the work is being cut by hand without a suitable loose-tenon setup.
For a shop cabinet face frame or a temporary jig, pocket screws are often good enough. That is the against-our-own-interest answer: buying a loose-tenon machine to replace four hidden screws is an upgrade that fixes a problem you may not have. If the joint is supported, hidden, and not carrying a racking load, the cheaper method wins on time and cost.
Why the elongated slot saves assembly
A tight mortise on both parts sounds precise until four corners have to meet at once. Small errors in rail length, fence position, stock width, or glue thickness can add up. With every mortise tight to the tenon, the last joint has no place to move while the frame is being brought square.
The usual solution is to make one mortise tight to the tenon and cut the mating mortise wider in the lateral direction. This is not the same as making the mortise deeper or leaving the tenon short. The wider slot lets the tenon move sideways while the joint is assembled, so the rail can align with the reference face and the frame can be squared before the glue sets.
Cutting one mortise wider than the tenon gives lateral adjustment without weakening the joint noticeably, provided the mortise still leaves sound cheeks and adequate end distance. The glue still bears on the two long-grain mortise walls on that side. The extra clearance is in the direction used for alignment, not a wholesale loss of contact around the joint.
Do not make every mortise wide. One tight reference joint controls the position. The wider slot belongs on the other part when the goal is side-to-side adjustment. If both parts float in every direction, the frame can shift during clamping and the wider openings can make layout errors harder to detect.
Choosing the process by quantity
Quantity changes the answer because setup is a fixed cost. For one frame, a dowel jig, a router template, or pocket screws may be faster than preparing a dedicated loose-tenon workflow. For two or three frames, the balance depends on whether the same stock dimensions and joint locations repeat.
Our practical breakpoints look like this:
- One or two frames: choose the method already accurate on your bench. A hand-cut mortise and tenon or a dowel jig can beat a new machine once setup, calibration, and test cuts are included.
- Several identical frames: loose tenons start to pay back because stops and fences turn joint placement into a repeatable operation. Keep one reference mortise tight and make the mating mortise wider for adjustment.
- A run of repeated frames: choose loose tenons or a CNC-cut mortise pattern if the machine can hold the required fit across the entire sheet or batch. The time saved is in consistent layout and fewer dry-fit corrections, not only in cutting speed.
- Utility construction with hidden faces: use pocket screws unless the frame needs the extra resistance to racking or the screw pockets would interfere with the finish.
There is no universal quantity where the answer flips. A familiar dowel jig may remain faster than an unfamiliar loose-tenon cutter for a small run. A CNC may win sooner if the same file also cuts the rails, stiles, and reference features. The honest test is to time one complete part by including layout, setup, dry fit, cleanup, and correction. Do not compare only the seconds that the cutter is running.
A repeatable loose-tenon workflow
Start with a reference face and reference end on every rail and stile. Put the fence against the same face for all corresponding cuts. Mark the joint centers from those references rather than measuring each part from whichever edge is nearest.
Make a test mortise in offcut material from the same stock. Check four things before cutting the real parts:
- The tenon enters without force but does not rattle.
- The mortise is centered at the intended distance from the face and end.
- The wider slot gives the amount of lateral movement needed without exposing a thin cheek.
- A dry frame closes at the shoulders and can be pulled square with normal clamp pressure.
Cut the tight mortises first, then change only the width setting for the adjustable mortises. Keeping depth, fence height, and reference face unchanged reduces the chance of mixing a location error with a width adjustment. Mark the loose side on the parts so the assembly behavior is predictable.
Glue coverage needs restraint. Coat the tenon faces and the mortise walls that will actually contact, then assemble before the adhesive starts to tack. Excess glue in a blind mortise can hydraulically resist insertion. If the joint stops short with a clean tenon and correct depth, inspect for trapped glue or chips before applying more force.
Frequently asked questions
Is loose tenon joinery as strong as a traditional mortise and tenon?
It can reproduce the important load path of a traditional joint because each side has two glued mortise walls and long-grain contact around the floating tenon. The result depends on tenon size, wood species, remaining cheek thickness, glue fit, and shoulder contact. A poorly placed loose tenon is not rescued by the name of the joint.
Should both mortises be tight?
Not for every frame. Use one tight mortise to establish the reference position and make the mating mortise wider in the lateral direction when assembly needs adjustment. The wider mortise should retain sound walls and end distance; excessive clearance or a wall reduced to a thin strip can weaken the part.
Is a dedicated loose-tenon machine worth buying for a hobby shop?
Not for a handful of hidden utility joints. A good dowel jig or pocket-screw method may be cheaper and faster. The dedicated tool earns its place when repeated frames, clean visible finishes, and reliable alignment justify the setup and consumable cost.
We build made-to-order loose-tenon furniture and CNC-cut joinery through our quote form.
Related services
All services →
Have a project in mind?
Tell us what you want built — we reply within 24–48 hours.