
- 3d printing
- household projects
- useful 3d prints
- practical prints
- maker projects
Useful 3D Prints: 6 Household Parts Worth Building
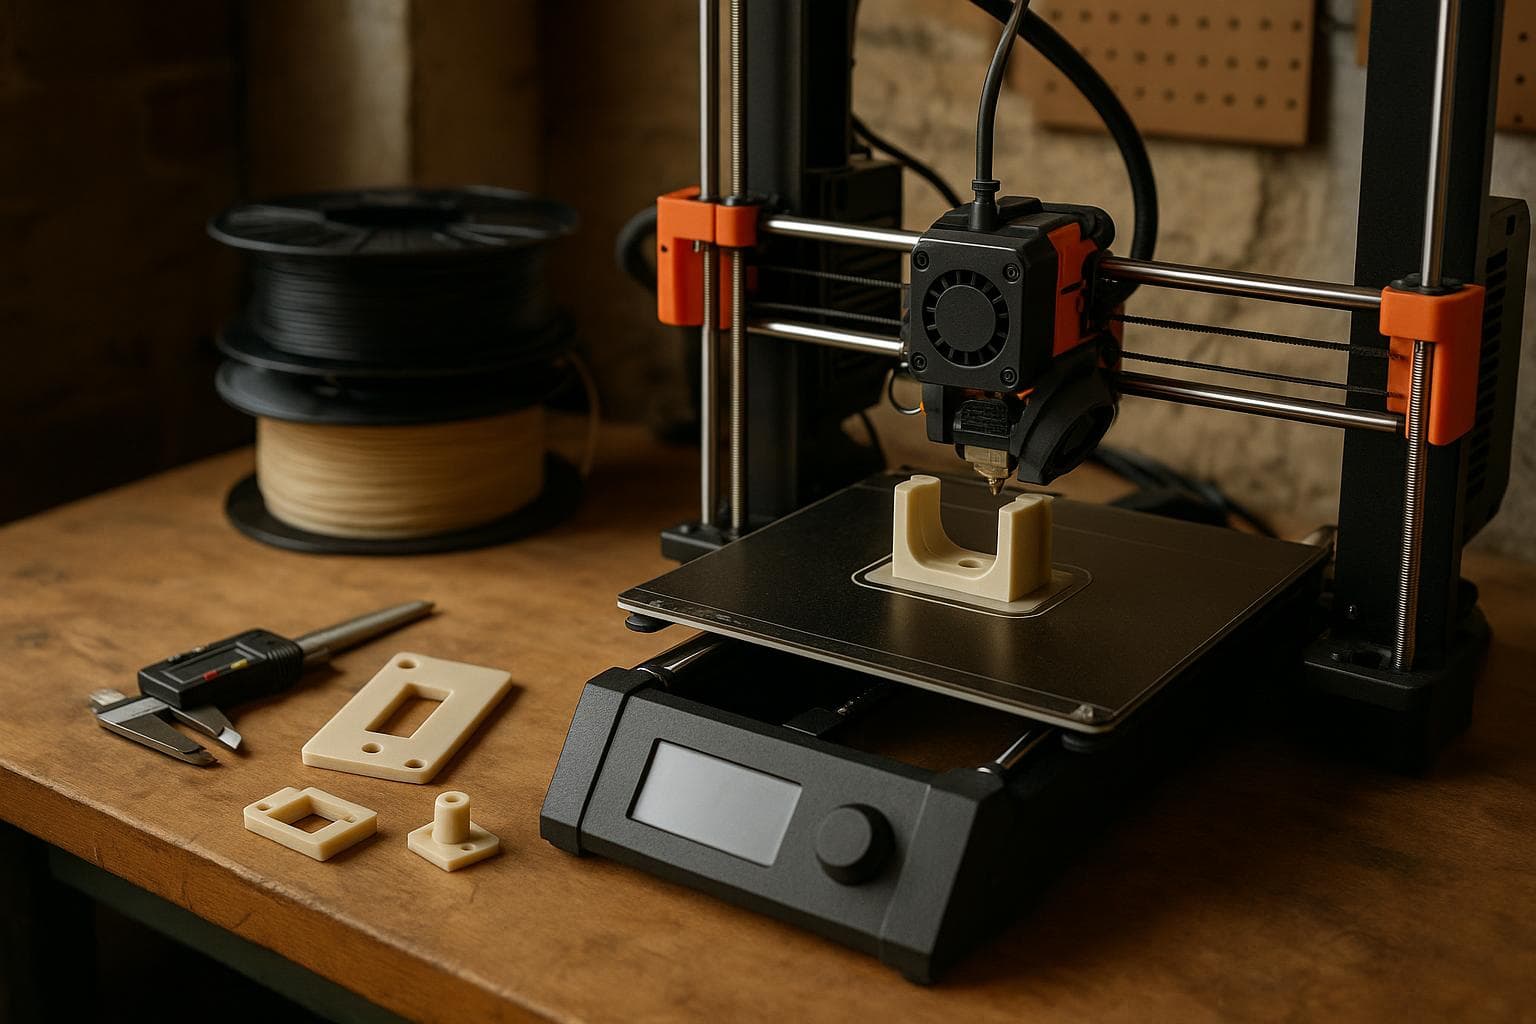
A useful household print is not the one with the most moving parts. It is the part that fixes an annoyance, fits the thing already in your house, and survives the load and environment you give it. Start with a known replacement part or a simple interface, then make the design harder only when the first version shows why it needs to be.
Choose the problem before the print
A part that replaces something broken has a known shape and a known load, which makes it a good early project. A broken latch, knob, spacer, or bracket gives you an existing reference for size and a clear test: does it fit, and does it carry the same force as the original?
Anything mounted near heat, sunlight or water needs a material decision before a design decision. PLA is convenient and stiff, but it softens at temperatures that can occur behind appliances, in a sunny window, or inside a warm vehicle. PETG gives more heat margin and handles ordinary household moisture well. ASA is a better choice for long-term sunlight exposure, provided the printer and ventilation setup are suitable for it. Material names are not a substitute for checking the temperature, chemicals, and load in your particular location.
For most of these projects, measure the mating part first and print a small test section before committing to the whole object. A five-minute ring, tab, or hole pattern can answer a fit question without spending an hour on a finished part.
| Project | Main technical constraint | Fit or tolerance that decides success | Common failure mode |
|---|---|---|---|
| Replacement latch or knob | Repeated hand force and bending | Hole spacing, shaft profile, and stop position | Layer split at a thin neck |
| Vacuum hose adapter | Air seal and wall stiffness | Inside diameter and insertion depth | Leaks from oval or undersized openings |
| Cable pass-through | Abrasion and cable bend radius | Opening size plus edge clearance | Cables kink or cut on a sharp edge |
| Low-voltage LED light | Heat around the strip and diffuser | Channel width and diffuser clearance | Dim spots, warped plastic, or loose fit |
| Under-sink sensor mount | Water, cleaners, and splash direction | Sensor opening and drainage path | Water collects inside the enclosure |
| Window or blind bracket | Sunlight, force, and repeated cycling | Screw location and alignment | Creep, cracking, or misalignment |
Six useful household 3D prints
1. Replace a broken knob, latch, or spacer
This is where I would start with household 3D printing. The original part gives you the important dimensions, and the job usually does not require a new mechanism. A replacement appliance knob might need a shaft socket, a small retaining feature, and a front face. A cabinet latch may need two screw holes and a stop. A drawer spacer may need only a fixed thickness and a pair of holes.
Problem solved: A small plastic part has failed, but the larger appliance, cabinet, or piece of furniture is still usable.
Main parts and materials: Calipers or a ruler, the broken part or its mating shaft, replacement screws if the old ones are damaged, and a print in PLA for a cool indoor part or PETG where the part sees more heat or impact. Use the original fastener size rather than assuming a printed thread will hold.
Harder than it looks: Capturing the load path. A knob may look round, but the torque travels through a thin socket. A latch may fail at the corner where the hook meets its plate. Add generous fillets at inside corners, keep the load across several layers where possible, and avoid making a thin tab carry a bending load across its layer lines.
Print the socket or hole pattern as a short test. If it is loose, change the model rather than forcing the printer to compensate globally. If the part is exposed to an oven, kettle, radiator, or direct sun, PLA is not the default choice. For a cool indoor drawer pull, the cheap material is good enough when the environment and load say it is.
2. Make a vacuum hose adapter
A hose adapter joins two objects that were never designed to meet: a vacuum hose and a tool, dust port, or storage fitting. It also teaches a valuable design habit: the outside shape can be decorative, but the inside diameter and sealing surfaces do the work.
Problem solved: A hose does not fit a tool, a dust port is the wrong diameter, or a small nozzle is difficult to store with the machine.
Main parts and materials: The hose, the receiving port, a flexible gasket or short sleeve if needed, and PETG or another suitable rigid filament. Measure both inside and outside diameters at several points. Hose ends are often not perfectly round, especially after years of clamping.
Harder than it looks: Getting a usable seal without making the adapter impossible to install. A straight press fit may grip well at one printer temperature and fail at another. A short tapered section is more forgiving, but too much taper reduces the sealing length. Add a stop so the hose cannot slide over the opening and block airflow.
Print only a short gauge ring first. Test it on the real hose, then adjust the inner diameter based on whether the hose stretches, slips, or needs a clamp. Thin walls can collapse or vibrate, and a sharp internal step catches dust. Keep the bore smooth and avoid a sudden reduction unless the airflow loss is acceptable.
3. Build a cable pass-through or under-desk strain relief
A cable hole is easy to cut and easy to get wrong. A printed insert can match the desk thickness, hide a charger brick below the surface, and keep a cable from being pulled sideways at its connector. This is a good practical print because it improves a repeated movement rather than adding another object to store.
Problem solved: Cables fall behind furniture, rub against a sharp hole, or bend immediately at a plug.
Main parts and materials: A grommet or two-piece clamp, screws only if the clamp needs them, and PLA or PETG for ordinary indoor use. For a cable that moves often, add a separate soft grommet or use a flexible material only if your machine handles it reliably. A hard printed edge is not a substitute for a strain relief.
Harder than it looks: Matching the cable bend radius. The hole may be large enough for the plug but still force the cable into a tight bend as soon as it exits. Measure the cable diameter, the plug body, and the space available behind the furniture. Make the entry flared or angled if the cable must turn immediately.
A two-piece clamp is often better than a snap-in ring when the desk is already assembled. Use heat-set inserts only if the clamp will be opened repeatedly; for a one-time installation, captive nuts or ordinary machine screws may add work without solving a real problem. A simple printed ring is often enough.
4. Make a low-voltage LED shelf or cabinet light
A small LED light can be a useful household part if the design starts with heat and serviceability rather than appearance. Use a low-voltage LED strip and its rated power supply, not exposed mains wiring. The print is the channel, end cap, mounting clip, or diffuser holder; it should not be asked to hide an electrical mistake.
Problem solved: A dark shelf, cupboard, or work surface needs even light without a loose strip peeling away.
Main parts and materials: A 5 V or 12 V LED strip, a matching power supply, wire, switch or controller, printed channel and brackets, and a diffuser made from a suitable translucent sheet or printed material. Follow the strip manufacturer’s current rating and power the strip from a supply with appropriate voltage and headroom. Addressable pixels have different data wiring and controller requirements from a simple two-wire strip.
Harder than it looks: Managing hot spots and heat. The LEDs are bright points, so a diffuser needs enough distance from the strip to blend them. A tight printed cover can also trap heat and soften. Make the diffuser removable, leave access to solder joints or connectors, and test the assembly after it reaches its normal temperature.
For a short, low-power cabinet run, a basic switch is usually the right choice. A network controller fixes a problem only if remote control or automation is actually needed. Calculate current from the strip’s stated current per length and the installed length, then verify the supply and wire can handle that current.
5. Mount a leak sensor under a sink
A printed sensor mount is more useful than a sealed box in many under-sink situations. The mount should hold the sensor at the first place water is likely to collect, keep it off a wet floor when appropriate, and let you remove it for testing or battery changes.
Problem solved: A leak sensor slides behind pipes, sits in a puddle where it cannot be heard, or gets blocked by stored supplies.
Main parts and materials: The sensor, a wall or cabinet mount, screws or adhesive suited to the surface, and PETG for ordinary splash exposure. If the sensor is near hot plumbing, direct sunlight, or cleaning chemicals, reassess the material and enclosure. Include drainage paths, avoid upward-facing cups, and leave the sensor’s sensing area unobstructed.
Harder than it looks: Directing water to the sensor without creating a trap that holds dirt or gives false readings. A shallow sloped tray can work, but it should be removable and easy to inspect. Do not call a ventilated print waterproof. Layer gaps, screw holes, and cable entries remain routes for water unless the design has a separate sealing method.
Keep the electronics outside the lowest point when possible. A clip-on mount is easier to service than a glued enclosure, and a printed bracket is often enough. The sensor’s own instructions decide whether it can tolerate splash, condensation, or immersion; the mount cannot change that rating.
6. Replace a window blind guide or outdoor cable clip
Small exterior parts take more planning than their size suggests. A blind guide, screen spacer, or cable clip is exposed to sunlight, temperature swings, and repeated movement. It is a useful test of whether the material and fastener choice match the location.
Problem solved: A blind cord wanders, a screen or shade loses alignment, or a cable along an exterior wall lacks a clip that fits its route.
Main parts and materials: The existing screw or fastener, a measured replacement geometry, and a UV-suitable filament such as ASA for long-term direct sunlight. PETG may be adequate in shade, while PLA is a poor default for a part that will heat in a sunny window. Use a separate gasket or clip if the cable must move without abrasion.
Harder than it looks: Creep and alignment. A bracket can fit perfectly on the bench and still distort after months of heat and force. Keep the screw load close to the mounting surface, avoid long unsupported arms, and design the part so the fastener clamps it rather than asking the plastic to hold all the force in tension.
Print a fit check in cheap material first, then print the final part in the material suited to the exposure. That two-stage approach saves more time than trying to perfect an outdoor print before confirming the screw position and alignment.
Make the first version a measurement tool
The first print should answer one question. For these projects, the useful questions are usually:
- Does the hole pattern line up with the existing fasteners?
- Is the mating diameter too tight, too loose, or distorted by the original part?
- Does the part flex at the intended location or at a weak layer transition?
- Can the user remove the part without dismantling the furniture?
- Does heat, water, sunlight, or cleaner exposure rule out the material you planned to use?
Keep fit-test geometry short and plain. A ring tests a diameter, a plate tests hole spacing, and a small tab tests a snap fit. Once that question is answered, add fillets, cable routing, labels, or a finish. This is how practical prints stay practical instead of turning into long redesign sessions.
For load-bearing parts, orient the model so the main force does not split layers apart. For snap fits, print a small coupon in the same orientation and material as the final part. For heat, run the assembly in its real location and inspect it after it has reached normal operating temperature. A model can be dimensionally correct and still fail because the environment was treated as an afterthought.
Frequently asked questions
Is PLA good enough for household 3D prints?
For cool, dry, indoor parts with modest loads, usually yes. PLA is often the sensible choice for a cable guide, drawer spacer, or replacement knob away from heat. Choose PETG or another material with a larger temperature and chemical margin for damp areas, warm equipment, or parts that take impact. Choose based on the actual location rather than the material’s reputation.
How much clearance should a printed hole have?
There is no single clearance that works across printers, orientations, materials, and hole sizes. A small horizontal hole often prints smaller than its CAD dimension because of extrusion and cooling behavior. Print a hole gauge or a short test plate using the same settings and material, measure the result, and apply that measured error to the final model. A clearance fit for a removable pin should not be modeled the same way as a screw hole meant to clamp a part.
What household part should I print first?
Print a replacement part with a known shape and load, such as a spacer, knob, latch, or bracket. It gives you a reference part, a clear fit test, and a straightforward failure check. Avoid starting with a sealed waterproof enclosure, a high-temperature mount, or a complicated mechanism. Those projects combine material, tolerance, and serviceability problems before you have isolated any of them.
The Boss Factory builds this kind of work to order in 3D Printing & Prototyping, Custom Electronics & Smart Systems, and Design & Product Development; request a quote.
Related services
All services →
Have a project in mind?
Tell us what you want built — we reply within 24–48 hours.