
- cnc
- feed override
- chipload
- cnc feed rate control
- router setup
Feed Override: 6 CNC Mistakes It Cannot Fix
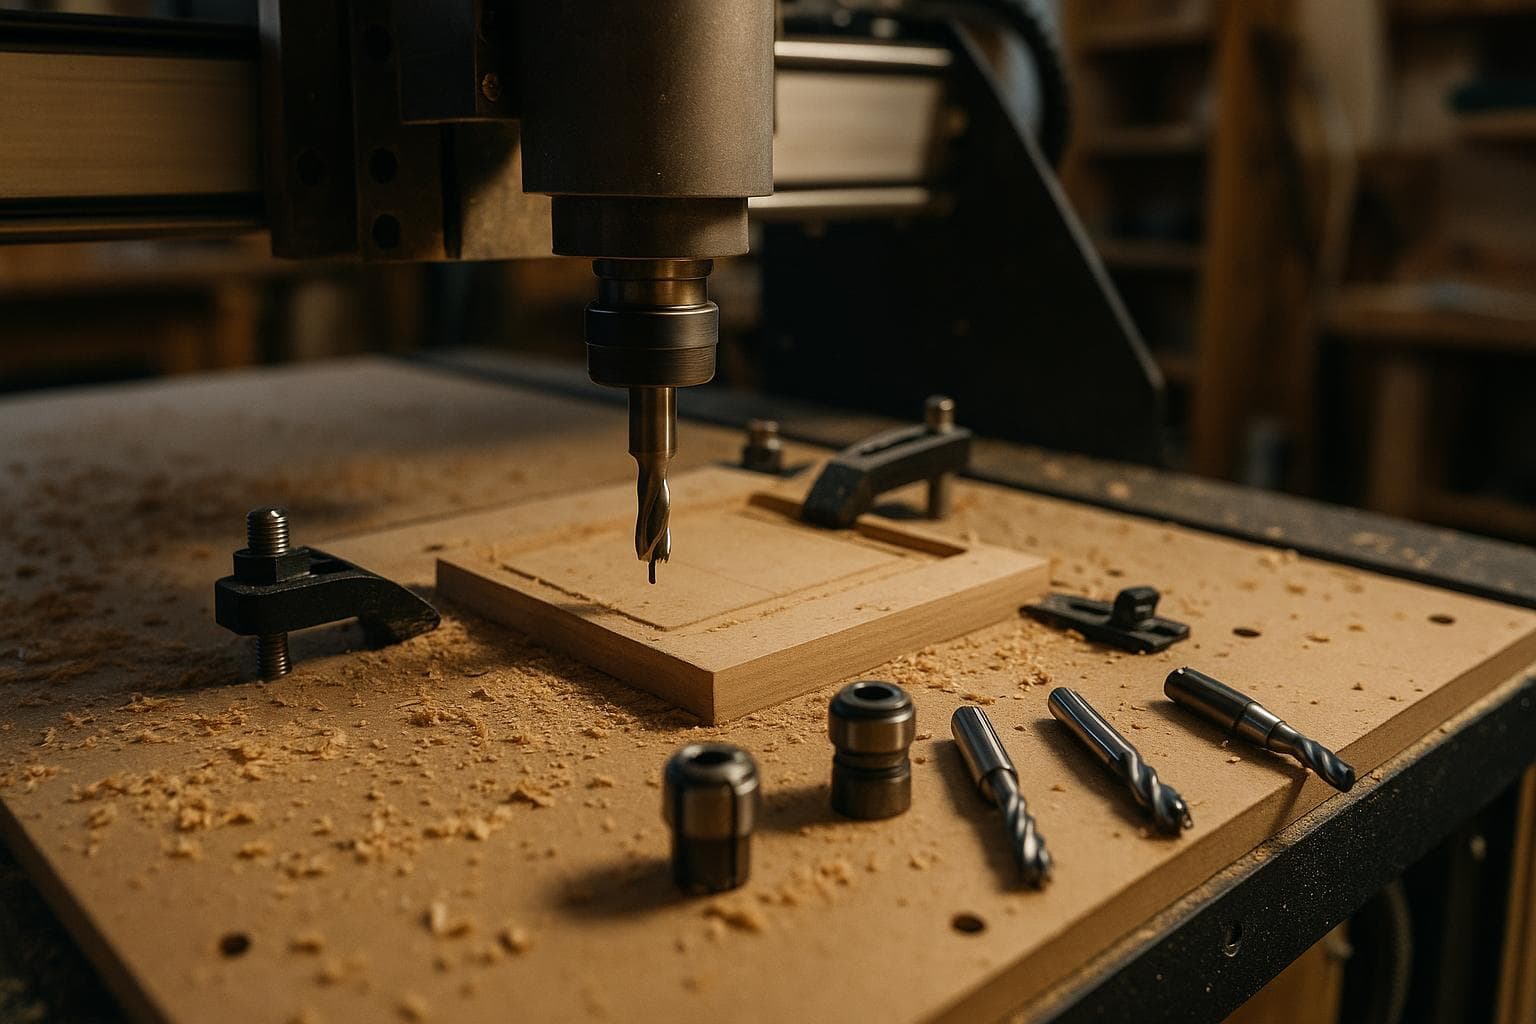
Feed override looks like a safety net, but it only changes one part of the cut: commanded feed rate. The honest answer is that it can soften a correct toolpath for a short section, but it cannot fix a wrong tool, bad workholding, poor chip evacuation, or an unsafe spindle speed.
What feed override changes in a CNC cut
For a milling cutter, chipload is commonly calculated as:
chipload = feed rate ÷ (spindle speed × number of flutes)
If spindle speed and flute count stay constant, reducing feed at constant RPM reduces chipload. That matters because the cutter is expected to remove a chip of a certain thickness, not polish the surface with its cutting edges.
A worried operator often turns the feed override down when the machine sounds harsh. Sometimes that is the right short-term response, especially if the toolpath enters an unexpectedly hard section or the machine begins to lose position. It is not a neutral adjustment, though. A smaller chip carries away less heat, and a chip that becomes too small can move the cut from cutting into rubbing. The sound may get quieter while the tool gets hotter.
The opposite adjustment can also be valid. If the cut is stable, chips are clearing, and the machine has spare capacity, a modest increase in feed raises chipload. That should be based on the tool maker's cutting data and a controlled test, not on the hope that the override knob will find the right setting for you.
Spindle speed is a separate variable. A CNC controller may be able to command spindle speed when it is connected to a controllable spindle or VFD. A manual router plugged into a fixed-speed setup is different: its spindle speed cannot be overridden from the controller. The controller can alter the programmed feed rate, but the router's dial or external speed control sets its RPM.
Mistakes 1–3: reducing feed instead of fixing the cut
Mistake 1: Turning feed down until the noise stops
The cut sounds less aggressive, but the edge is discoloured, the tool is too hot to touch after the pass, or the material shows a glossy burnished strip instead of a cleanly cut wall. In wood, the surface may be brown. In plastic, the edge may smear or weld chips back onto the part. This happens because feed override reduced chipload without reducing RPM.
Before touching the override, identify the source of the sound. Watch the chips, not only the spindle. Check the tool for resin, melted plastic, a dull edge, or packed flutes. Confirm that the programmed feed, spindle speed, flute count, and material match the values used to calculate chipload. If the cut is already rubbing, stopping to correct the cause is better than completing the part at a low override.
Mistake 2: Treating feed override as a substitute for workholding
The part shifts, a thin section lifts, a pocket changes size, or the cutter grabs a loose waste piece. Reducing feed may make the movement less dramatic, but the reference has already moved. A slower wrong cut is still wrong, and the machine may continue cutting from coordinates that no longer describe the stock.
With the machine stopped and spindle off, apply hand pressure in the direction of the cutter's force. Check the stock, spoilboard, clamps, screws, vacuum seal if used, and sacrificial tabs. Look for clamps in the toolpath and for thin bridges that will be cut away before the final contour.
Run the toolpath above the stock when the controller supports a safe dry run. Watch the point where the part becomes least supported, not only the first few moves. For small parts, add tabs or use a fixture that supports the remaining material. Feed override does not add clamping force.
Mistake 3: Using a lower feed to hide the wrong tool or flute count
A single-flute cutter is run with settings intended for a two-flute cutter, or a tool with too short a cutting length is forced deeper than its geometry allows. The result can be chatter, a poor wall, a deflected tool, packed chips, or a cut that grows hot even at a low feed override.
Flute count changes chipload directly. At the same feed and RPM, doubling the number of flutes halves the calculated chipload. Tool diameter, stickout, helix, coating, cutting length, and material also change the usable range. There is no safe universal override percentage that makes mismatched tool data correct.
Read the tool marking or measure the cutter. Confirm diameter, flute count, cutting length, overall length, and stickout. Compare those details with the CAM operation and the tool database. For a new tool or material, use a test coupon with the same depth, workholding, and grain or sheet orientation as the real job. If the tool is too flexible or too short for the operation, replace the tool or change the geometry. Do not buy a faster spindle to solve a cutter selection error.
Mistakes 4–5: cycle time, heat, and programmed units
Mistake 4: Forgetting that feed override changes cycle time and heat balance
The first part appears acceptable, but a long pocket develops a different finish near its final passes. The toolpath takes much longer than expected, chips become powdery, or a plastic edge begins to soften. A lower override can also leave the cutter dwelling in corners or during short linking moves, where the programmed feed is already limited by acceleration.
Feed override applies to commanded motion subject to the controller's own limits. It does not make every move run at the displayed percentage. Acceleration, jerk settings, corner speed, look-ahead, and small-segment processing can all limit actual motion. Use the controller's actual feed display if available, then compare it with the commanded feed during straight cuts, arcs, and corners. Watch a simulated run for long pauses, repeated short segments, and rapid direction changes.
For a long operation, confirm that the chosen chipload still makes sense at the override you plan to hold. If about a 70% setting is needed for the whole job, fix the programmed parameters or toolpath instead of accepting a much longer rubbing cut. The cheap fix is good enough when it is a brief response to a local load change. It is not good enough as the permanent recipe.
Mistake 5: Using override before checking the programmed units
The machine moves far faster or slower than expected, even though the percentage on the control looks familiar. A file may be in millimetres per minute while the operator expects millimetres per second, or an inch-based file may be loaded with the wrong unit mode. A low override can make an incorrect unit assumption look temporarily manageable.
Read the file header and the controller's unit mode before starting the spindle. Verify a known rapid move and a known cutting move above the stock. Confirm that the displayed feed has the same units used by the CAM output. Check the work coordinate system, tool length offset, and Z zero during the same dry run.
The first cut should be a shallow, visible test where an error can be stopped before the tool reaches the finished boundary. Keep one hand near the stop control and watch the actual motion. Feed override is useful during this test, but it should not replace verifying units and offsets.
A practical feed override procedure
We use override as a controlled response, not as a substitute for setup. Before committing the board or sheet, run this sequence:
- Confirm material thickness, cutter diameter, flute count, stickout, and programmed depth.
- Check the work coordinate system and verify Z zero with the actual stock in place.
- Dry-run the path above the material, including clamps, tabs, thin sections, and the final contour.
- Start the first cut with the programmed feed and watch chip shape, sound, load, and dust or chip evacuation.
- If the load rises, reduce feed briefly while identifying the cause. Do not leave the override low without recalculating chipload.
- If the cut is stable but the tool is making dust instead of chips, stop and correct the feed, RPM, tool, or pass depth rather than relying on a quieter sound.
- Record the settings that produced a clean test result on this machine, with this tool and material.
Our position is straightforward: use feed override to manage a known, local change in cutting load. If it is needed from the first move to the last, stop the operation and fix the underlying numbers. A conservative test cut is cheaper than sacrificing a finished board, and a new spindle or controller upgrade fixes no problem that comes from incorrect chipload math.
Frequently asked questions
Does lowering feed always damage the cut?
No. Lowering feed can be appropriate for a short section where the machine reaches a temporary load increase, provided the resulting chipload remains large enough for the tool and material. At constant RPM, however, reducing feed reduces chipload. If the tool begins rubbing, burning, smearing, or producing dust, the lower setting is making the cut worse.
Can a CNC controller slow a manual router's spindle?
Not unless the router is connected to a speed-control system that the controller can command. On a manual router with its own speed dial and no controller interface, spindle speed cannot be overridden from the controller. The controller can change feed rate, while the router's dial or external control sets RPM.
What should I change first when a CNC cut sounds wrong?
Stop or reduce the load only enough to keep the machine safe, then check workholding, tool condition, flute count, stickout, chip evacuation, programmed feed, RPM, and depth of cut. Look at the chips and the cut edge. Change one variable in a test area, and recalculate chipload whenever feed, RPM, or flute count changes.
We build made-to-order CNC work through the quote page.
Related services
All services →
Have a project in mind?
Tell us what you want built — we reply within 24–48 hours.