
Polishing Metal-Filled Prints: Bronze vs Copper
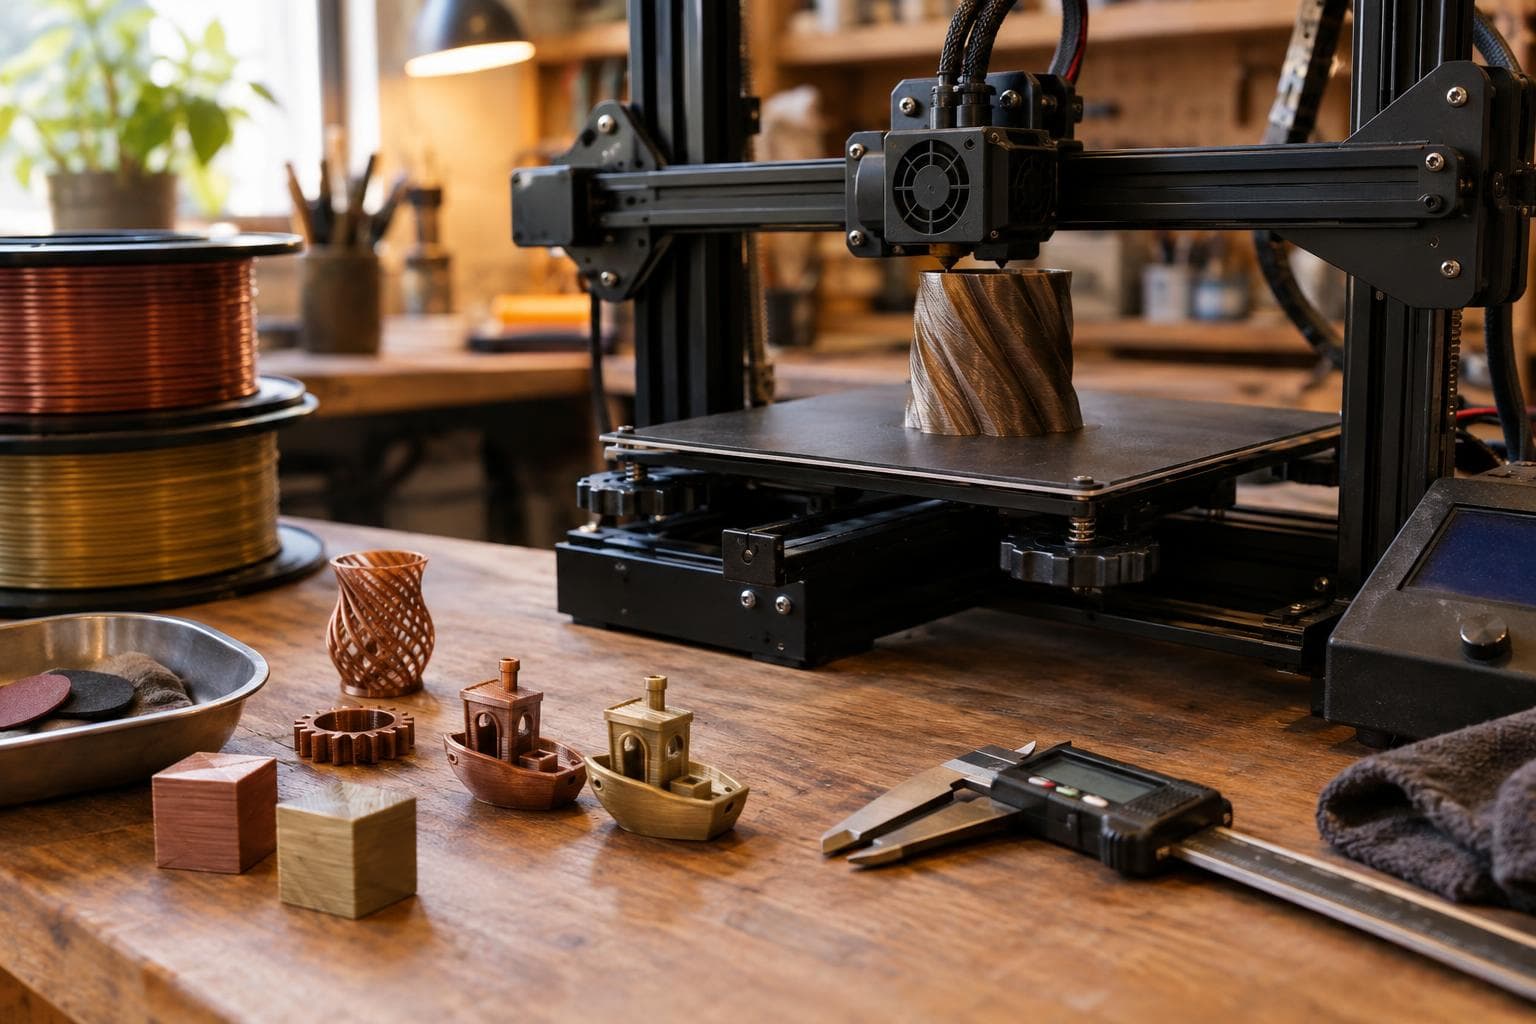
A metal-filled print can leave the printer looking like dull plastic, even when the filament contains bronze or copper particles. The honest answer is that the metal appearance comes from controlled abrasion and burnishing, not from turning the whole part into metal.
Bronze-filled or copper-filled filament
Most metal-filled filaments use a plastic matrix loaded with metal particles. The exact particle size, loading, binder, and recommended nozzle temperature depend on the manufacturer, so two spools labelled with the same metal can sand and polish differently.
For most decorative parts, we would pick bronze-filled PLA as the default. It tends to give a readable brown-gold contrast after polishing, and small changes in sanding pressure are less likely to make the whole part look uniformly bright. Copper-filled filament wins when the reddish copper colour matters more than forgiving finishing, or when you want a darker patina after exposure to air and handling.
| Property that decides the job | Bronze-filled PLA | Copper-filled PLA |
|---|---|---|
| Surface appearance after polishing | Brown-gold, with dark areas remaining in texture | Reddish orange to copper, often with stronger bright-dark contrast |
| Abrasive wear on the nozzle | Higher than ordinary PLA; depends on particle loading | Higher than ordinary PLA; depends on particle loading |
| Sanding behaviour | Usually easier to control for a weathered bronze fill finish | Can show bright copper quickly, making uneven sanding easier to see |
| Heat tolerance | Set by the plastic binder, usually PLA rather than bronze | Set by the plastic binder, usually PLA rather than copper |
| Mechanical strength | Still governed mainly by layer bonding and the plastic matrix | Still governed mainly by layer bonding and the plastic matrix |
| Main failure mode during finishing | Sanding through ridges and leaving a pale plastic patch | Overheating or uneven pressure that smears binder across the surface |
Neither material should be selected for structural metal performance. The particles do not form a continuous metal path, so a copper-filled print is not a substitute for a copper part, a heat sink, or an electrically conductive enclosure. The metal content also does not give the print the temperature limit of bulk bronze or copper.
Print for the finishing process
A polished result starts with enough surface material to survive sanding. Thin walls, sharp embossed lettering, and shallow texture lose their shape quickly under coarse abrasive. A slightly larger fillet and deeper relief usually survive better than trying to preserve a knife edge.
Use the filament maker's temperature range as the starting point, then tune extrusion and layer bonding on the actual spool. More heat can improve layer fusion, but excessive heat can soften detail and make later sanding less predictable. Slower outer walls may improve consistency on some machines, while a different machine may need more cooling to keep small features crisp. A temperature tower and a small test with the intended texture settle this faster than copying a setting from another printer.
Metal-filled filament is abrasive. A brass nozzle can wear enough to change extrusion over a long print, which can show up as wider lines or lost dimensional accuracy. A hardened nozzle is the sensible upgrade for repeated use, but it does not fix a finishing problem caused by poor layer bonding or insufficient wall thickness. For one small decorative part, buying a new nozzle before testing the finish may be unnecessary; inspect the nozzle and measure the test print first.
Keep the print free of grease before sanding. Finger oils can make a surface look darker and can interfere with any later patina or protective coating. Remove supports carefully, because support scars become much more obvious once the surrounding surface is polished.
The sanding and polishing progression
The objective is to remove layer ridges without digging channels into the part. We use a progression rather than jumping straight to fine paper, because fine abrasive will polish the high spots while leaving the valleys dull.
- Start at 120 or 180 grit only where layer lines, support scars, or a visible seam require it. Use a sanding block on flat faces and a flexible backing on curves.
- Move to 240 grit after the coarse marks are gone. Change sanding direction by roughly 90 degrees so the previous scratch pattern is easy to identify.
- Use 320 or 400 grit to even the surface. At this stage, reduce pressure; the goal is to replace the scratch pattern, not remove another layer of shape.
- Wet-sand with 600 grit, then 800 or 1000 grit if the surface needs a brighter reflection. Wet sanding controls loose dust and limits heat, but keep water away from unsealed electronics or trapped cavities.
- Apply a metal polishing compound with a cotton cloth or a small polishing wheel at low speed. Work in short passes and wipe the residue away often.
- Finish with a clean cloth. Burnishing prints means compressing and smoothing the exposed surface rather than cutting deeply into it, so pressure and heat matter more than maximum wheel speed.
The first abrasive is the decision point. If the print is already smooth and only needs its particles exposed, starting at 240 grit can save detail. If the surface has pronounced ridges, 120 grit may be justified on broad faces, but it is a poor choice around lettering and sharp edges.
Do not let a rotary tool sit in one spot. Friction can soften the plastic binder, smear it over the particles, and create a glossy patch that looks less metallic than the untouched area. If the surface becomes warm to the touch, stop and let it cool. A hand sanding block is slower but often produces a more even bronze fill finish on visible faces.
What polishing can and cannot change
Polishing exposes and burnishes the metal particles at the surface, so the effect is skin deep. It does not distribute metal through the part, strengthen the part like cast metal, or make an electrically useful conductor. Sanding through a corner reveals more plastic matrix, not a hidden solid-metal layer.
The appearance also depends on lighting. A satin surface scatters light and hides small inconsistencies; a bright polish reflects them. For a part with deep texture, stopping around 400 to 600 grit may look more convincing than chasing a mirror finish across every face. Darker residue in recesses can help the shape read, while aggressive polishing can erase that contrast.
The polished surface will tarnish like the metal it contains, which is a maintenance decision. Copper usually develops a brown or greenish patina more readily than bronze, though the rate depends on humidity, handling, contaminants, and the particular filament. A clear coating can slow the change, but it also changes the sheen and may need renewal if the part is handled often. Leaving the surface uncoated gives a more natural patina and makes periodic cleaning part of ownership.
Avoid treating the finished print like solid metal. Do not use abrasive metal cleaners on a delicate texture without testing them first, and do not assume a coating will survive heat, rubbing, or outdoor exposure just because it is clear. A hidden test coupon made from the same filament is cheap insurance.
Frequently asked questions
Does polishing make a metal-filled print conductive?
No. The metal particles are dispersed in a plastic binder and are not normally connected into a continuous electrical path. A polished surface may contain exposed particles, but that does not make it suitable for carrying current or grounding equipment.
What grit should I start with for polishing metal filled PLA?
Start with the finest grit that removes the visible defect. Use 120 or 180 grit for heavy ridges or support scars, 240 grit for ordinary layer lines, and 320 or 400 grit when the print is already fairly smooth. Test a hidden area first, since particle loading and layer height change how quickly the surface cuts.
Should I seal a polished bronze-filled print?
Seal it if keeping the current colour matters more than developing a patina. Leave it uncoated if gradual tarnish is part of the intended appearance. Either way, the plastic matrix remains the structural material, and the exposed metal surface still needs gentler cleaning than a solid bronze object.
The Boss Factory builds made-to-order 3D prints and prototypes; request that work through /quote.
Have a project in mind?
Tell us what you want built — we reply within 24–48 hours.